Settings Guide
Configure your business, sales, accounting, and integrations from a single Settings panel.
📑 15 Settings Tabs
The Business tab holds your company's identity — the information that appears on invoices, quotations, and receipts.
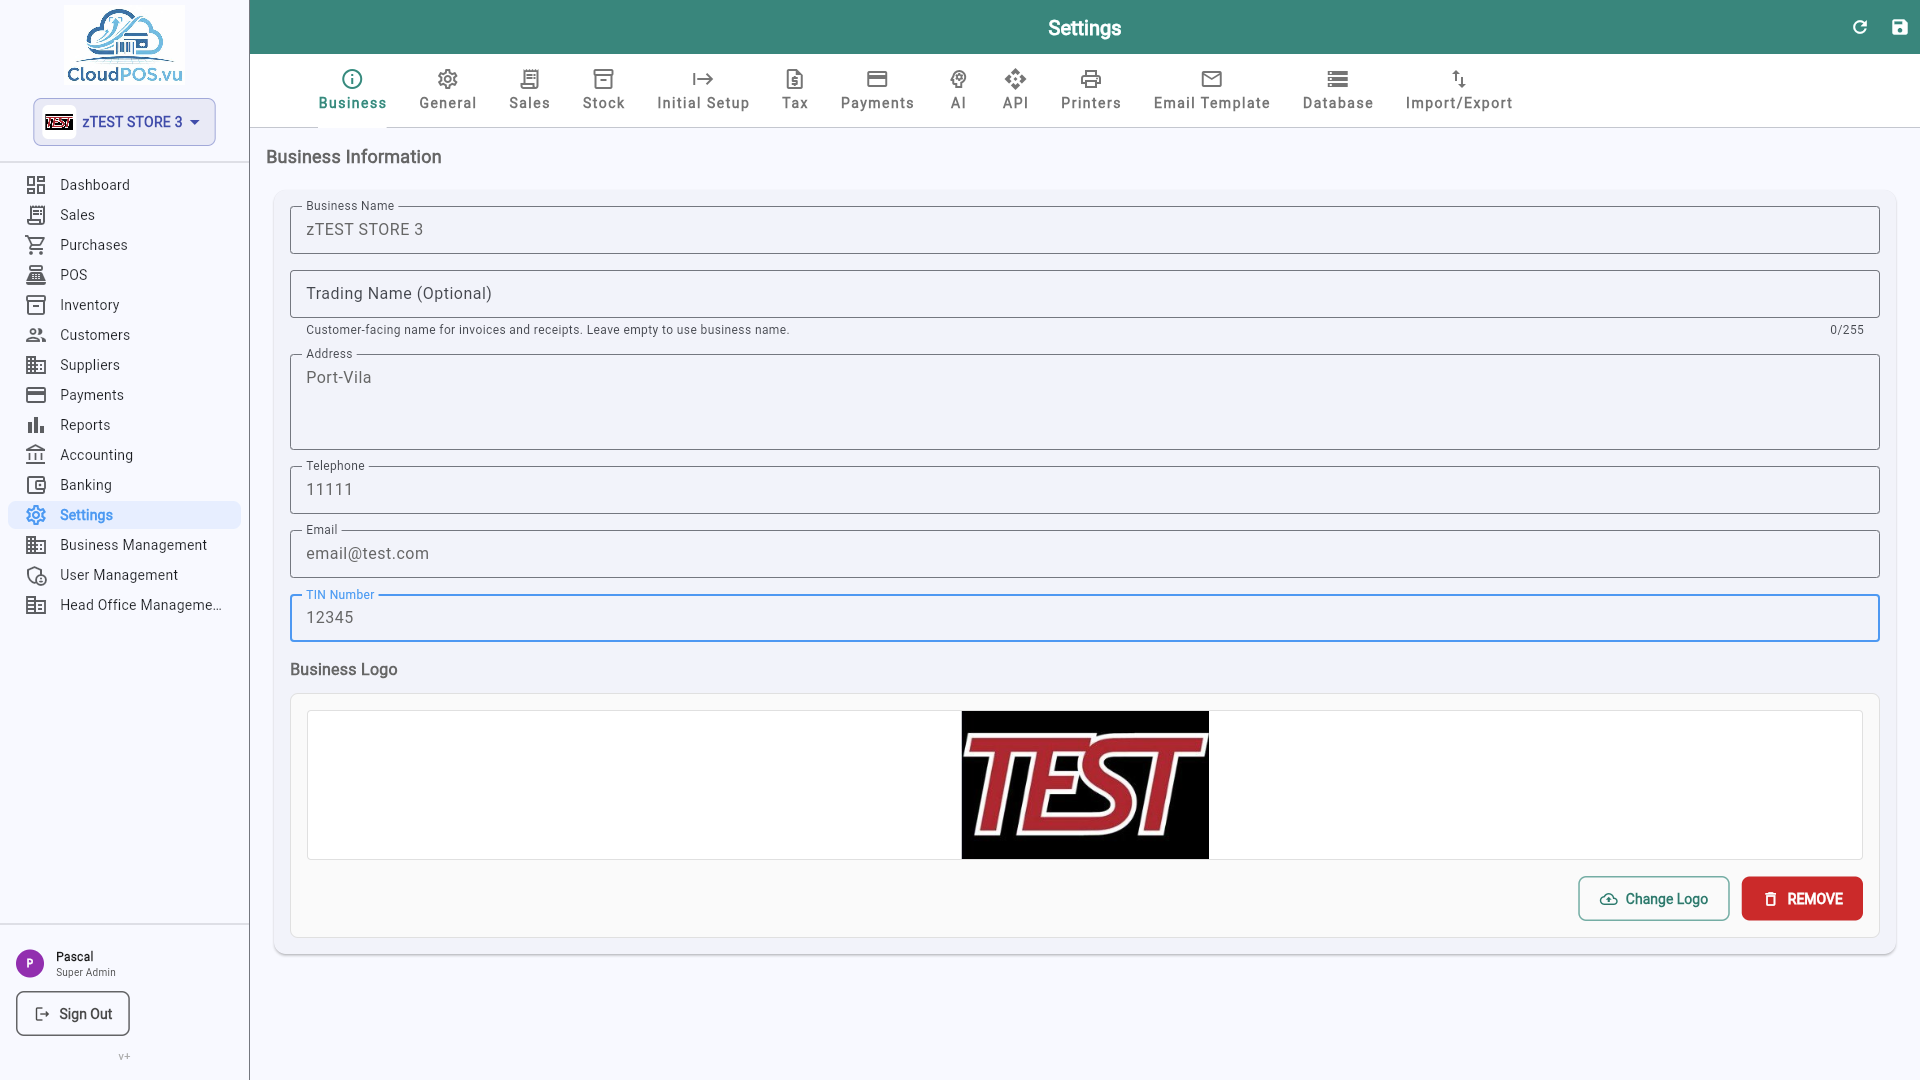
Upload a logo that appears on all printed documents. Supports PNG, JPG up to 2 MB.
The legal trading name shown on tax invoices and quotations.
Contact details displayed on customer-facing documents.
Your Tax Identification Number — required for VAT returns and customs.
The General tab controls how numbers, currencies, and dates appear throughout the application.
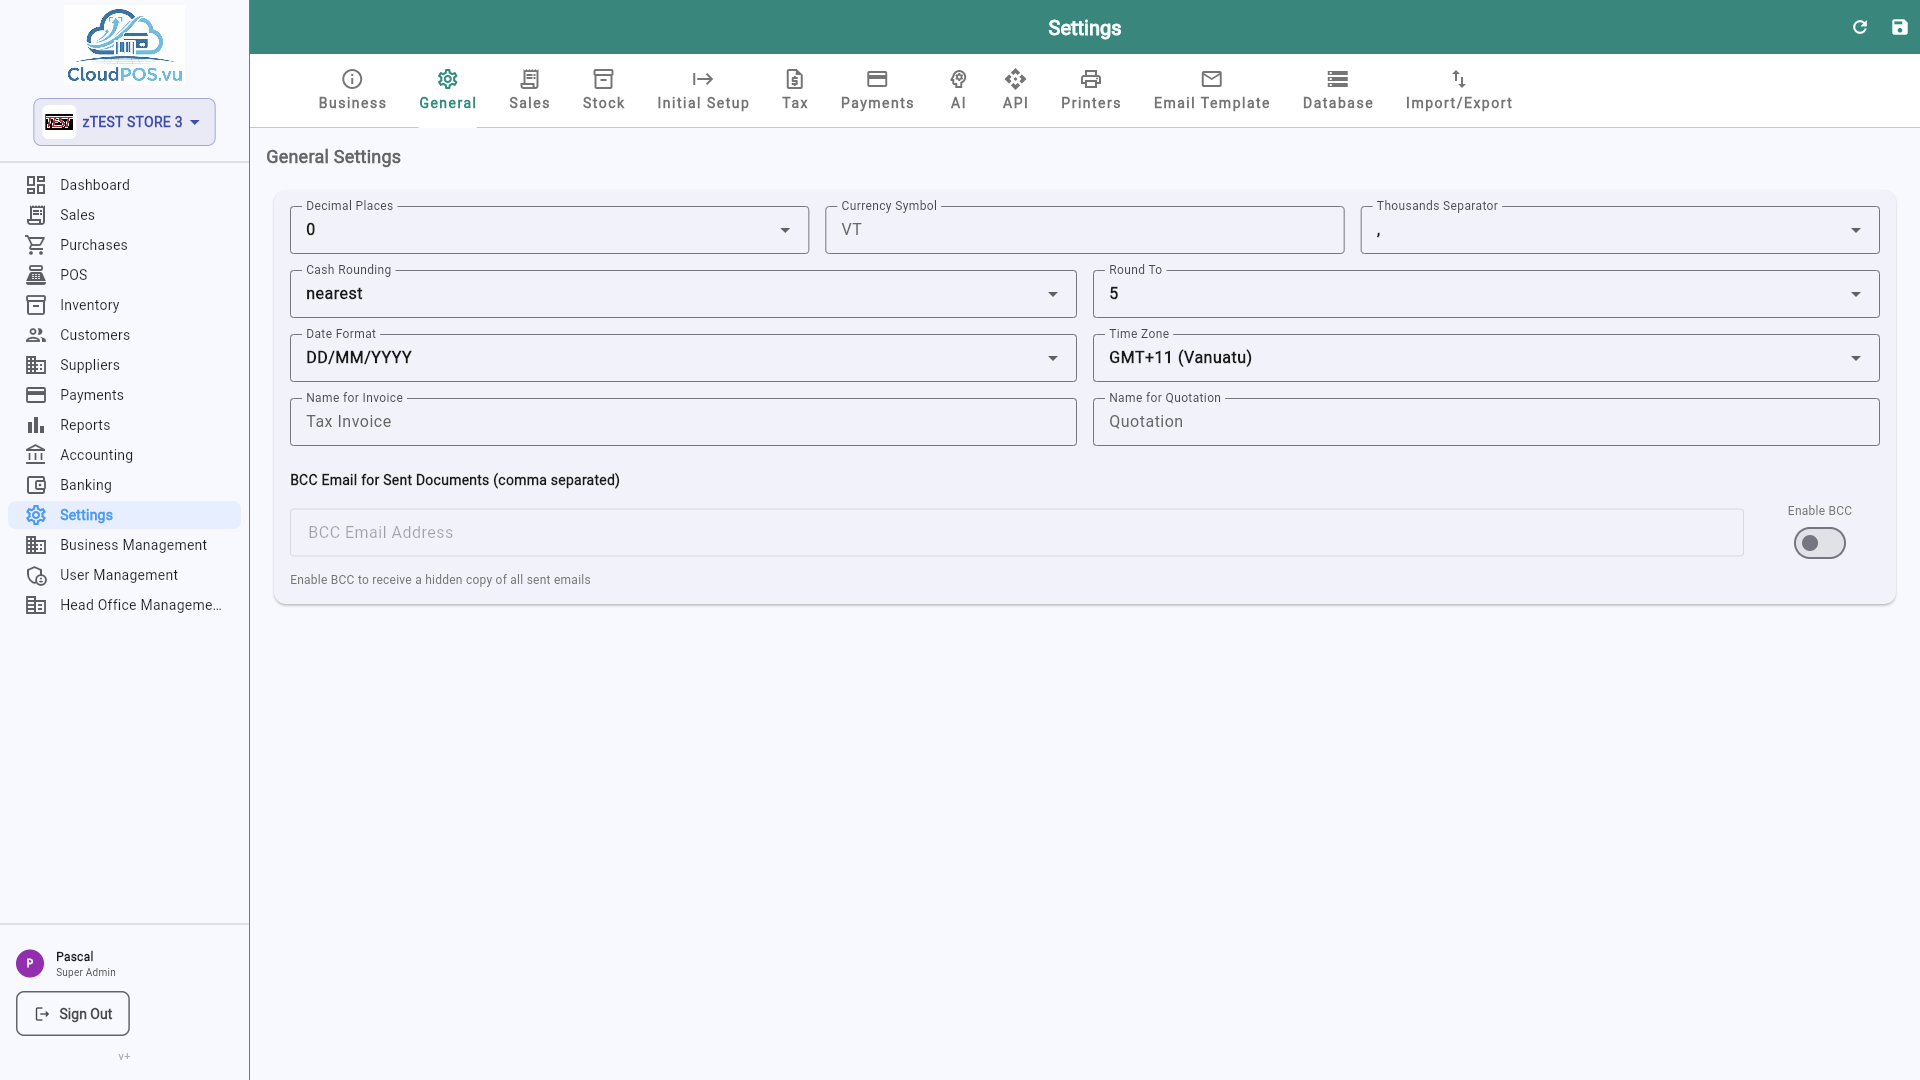
Number of decimal places for monetary values. Set to 0 for Vanuatu Vatu (whole numbers only).
The symbol displayed next to amounts — e.g. VT for Vatu, $ for USD.
Choose between DD/MM/YYYY, MM/DD/YYYY, or YYYY-MM-DD.
The Sales tab configures how prices and stock warnings behave when creating invoices, quotations, and proforma invoices.
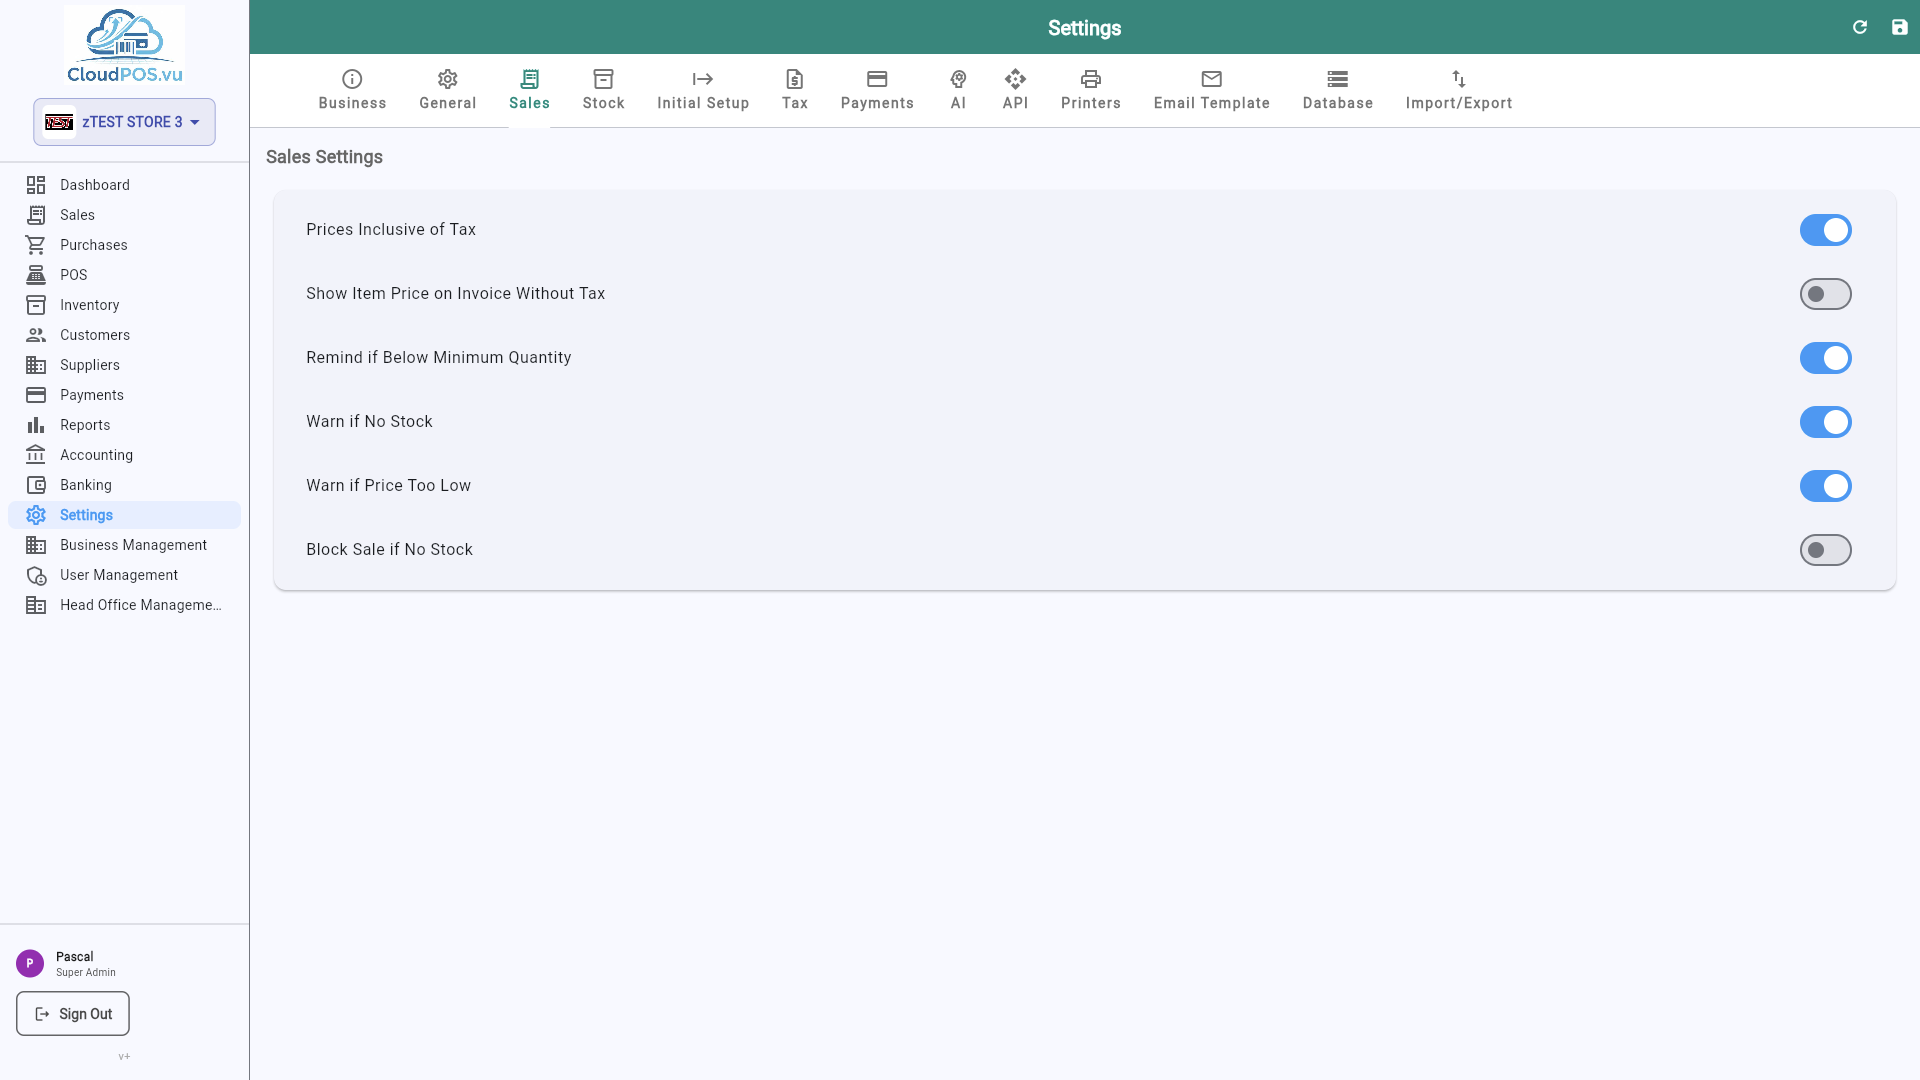
When enabled, the sell price you enter for products includes VAT. The system automatically calculates the net amount and tax split on invoices.
Shows a warning when adding a product to an invoice that has zero or negative available stock.
The Stock tab lets you choose how the cost of goods is calculated when inventory is sold.
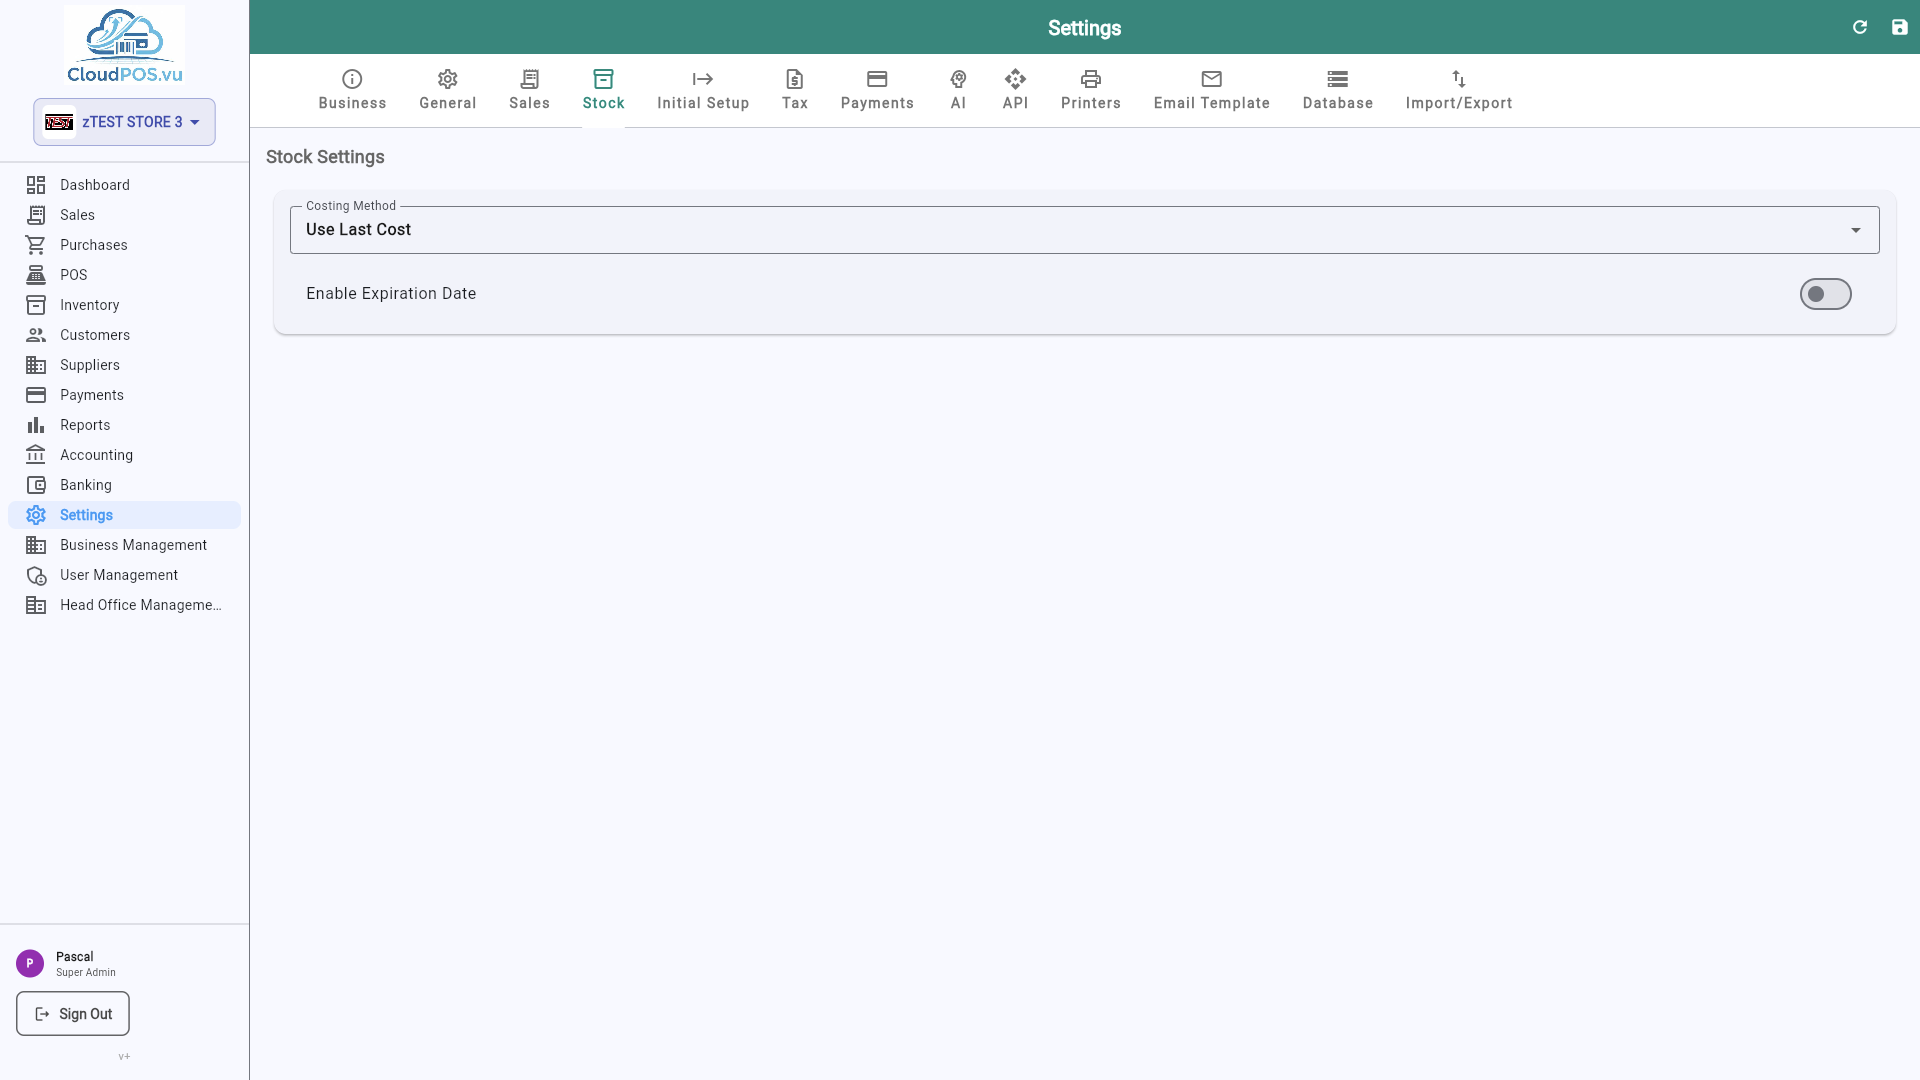
Last Cost — uses the most recent purchase price as the cost of goods sold.
Calculates a weighted average of all purchase costs. More accurate for volatile pricing.
The Initial Setup tab is used once when onboarding a new business. It lets you record opening stock quantities and opening accounting balances before you start trading.
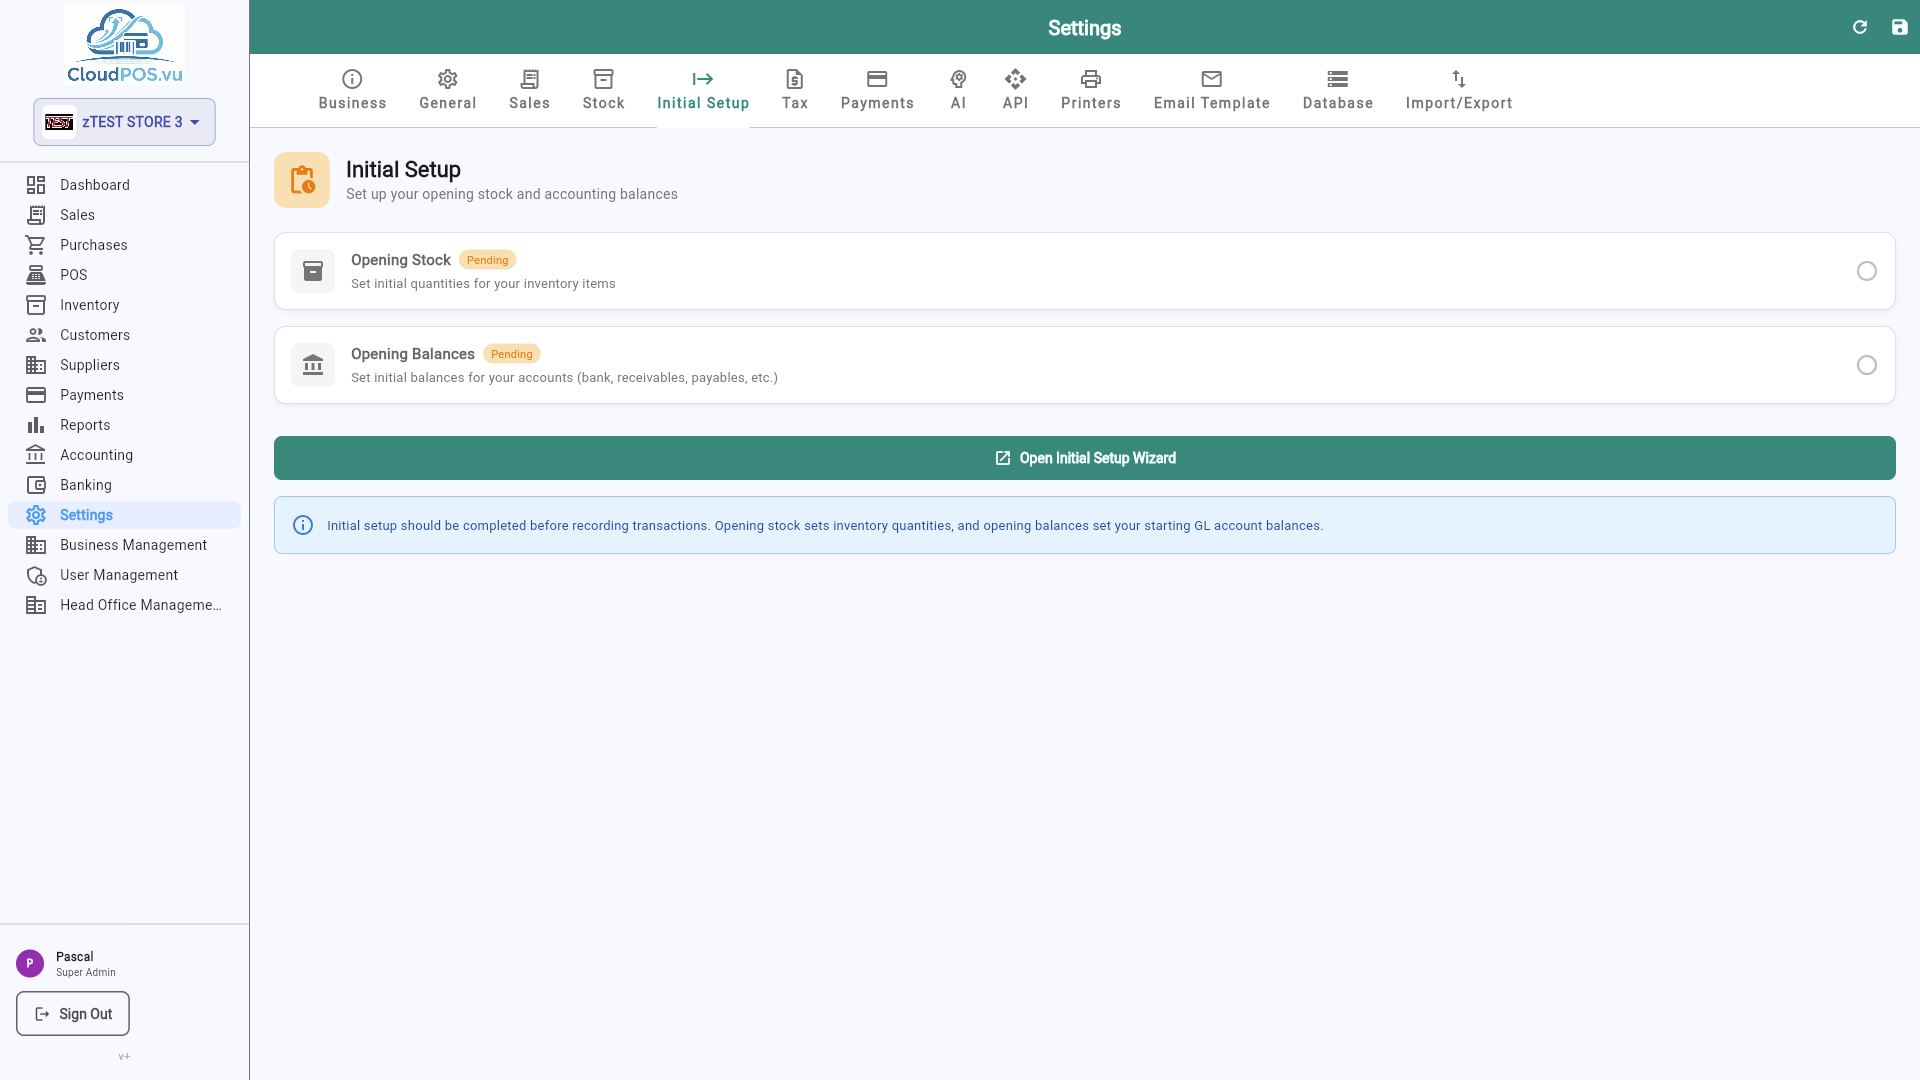
- Opening Stock — Enter the quantity and value of inventory you already have on hand. This creates the initial inventory journal entry.
- Opening Accounting — Enter opening balances for all accounts (bank, receivables, payables, etc.) to match your previous accounting system.
The Tax tab manages tax rates applied to products and services. Each product references a tax rate for invoice calculations.
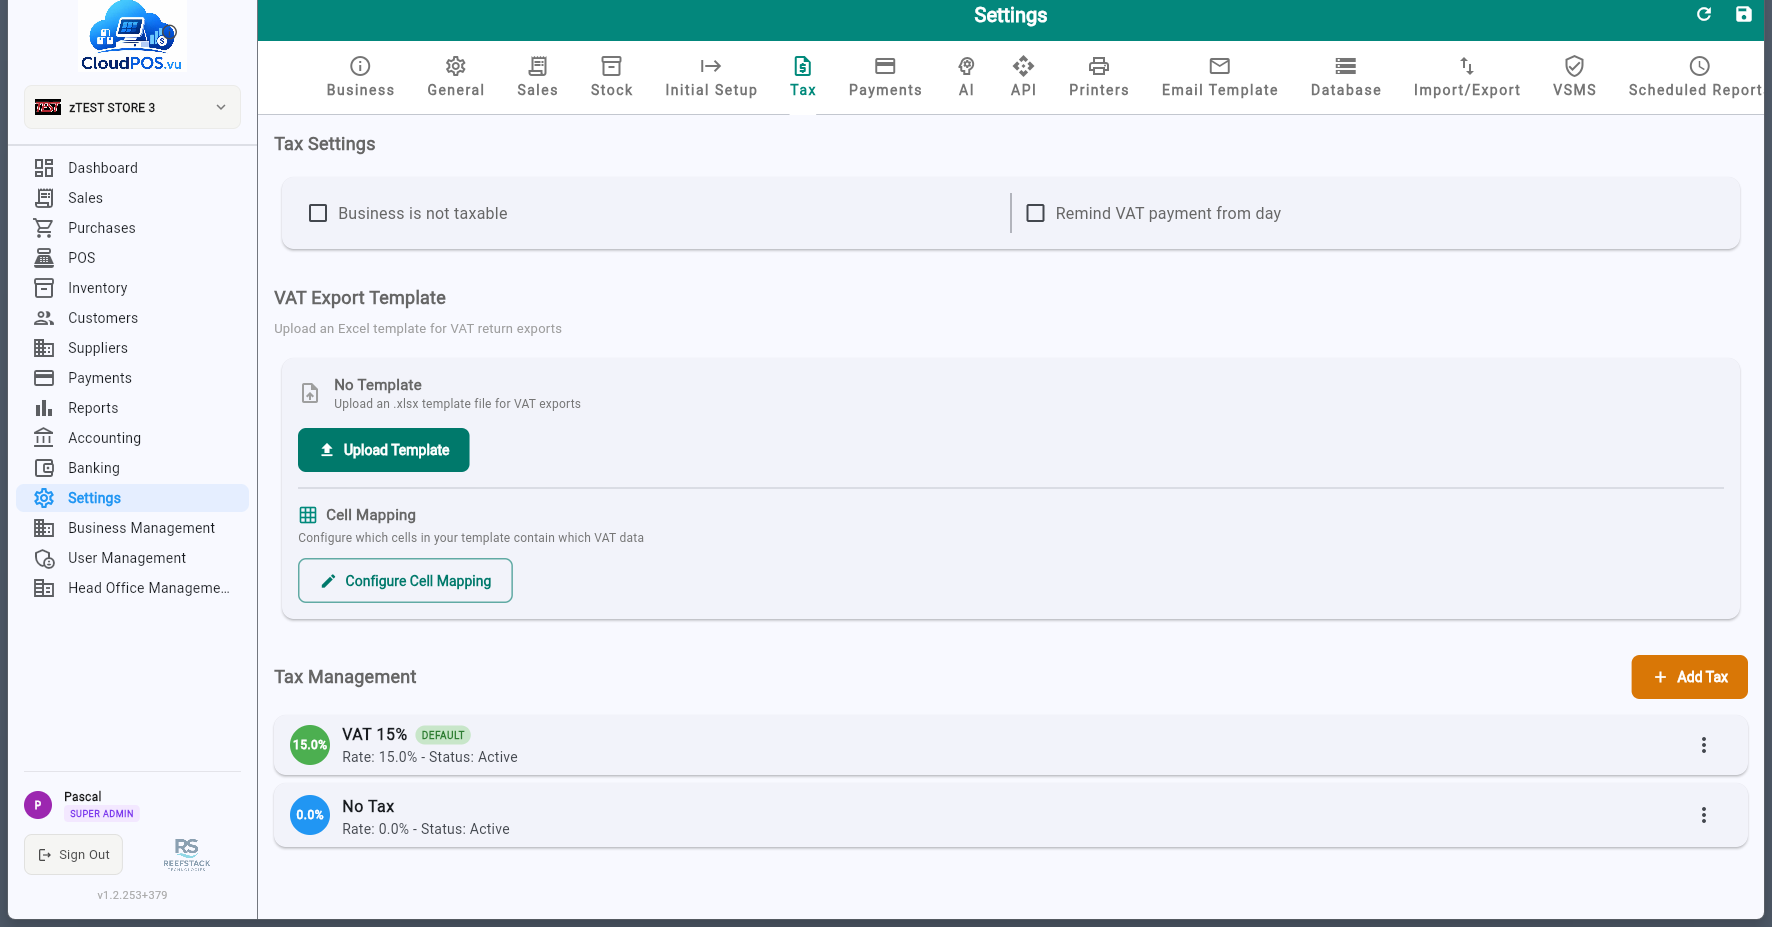
View all configured tax rates with name, percentage, SDC label, and default status.
One rate can be marked as default — new products automatically inherit this rate.
Each tax rate has a label (A, E, F, etc.) received from the SDC. Labels appear on fiscal receipts next to the tax value (e.g. A = 15%). New labels are added automatically when the SDC configuration changes.
The Payments tab manages the payment methods available when recording customer payments. All configured payment types are registered and sent to the SDC during fiscalization.
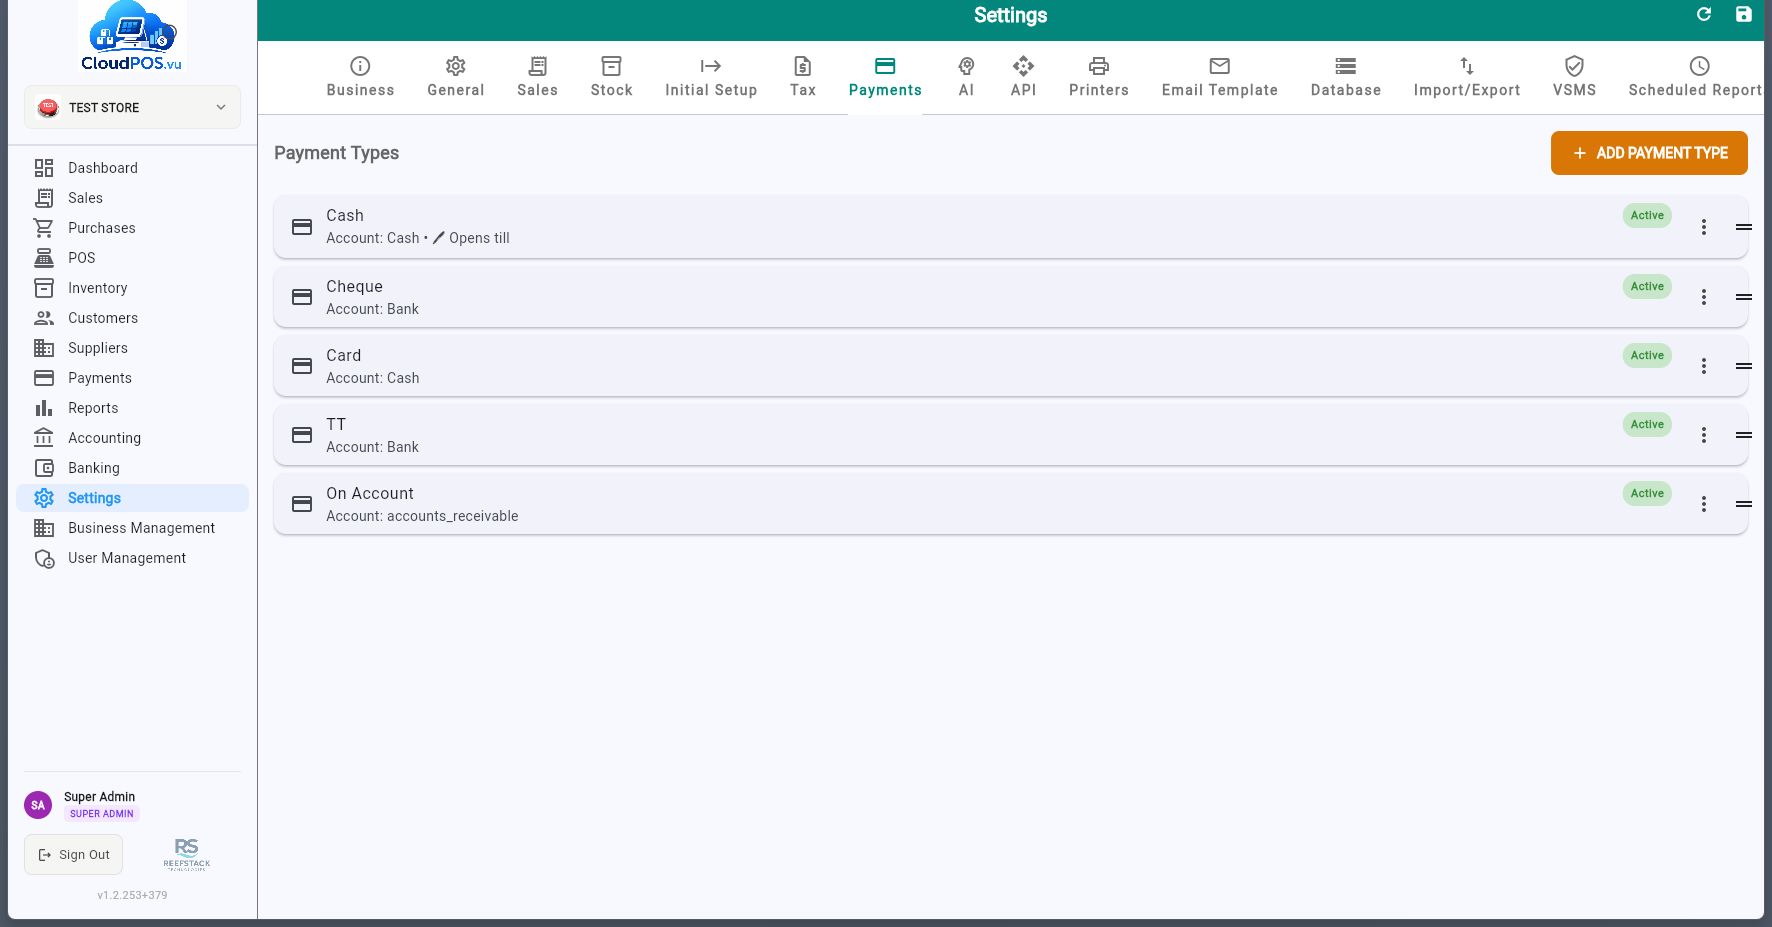
- Add payment types — Cash, Card, Bank Transfer, Cheque, Mobile Money, etc.
- Reorder — Drag payment types to change the order they appear in the payment dialog.
- Deactivate — Disable payment types you don't use instead of deleting them.
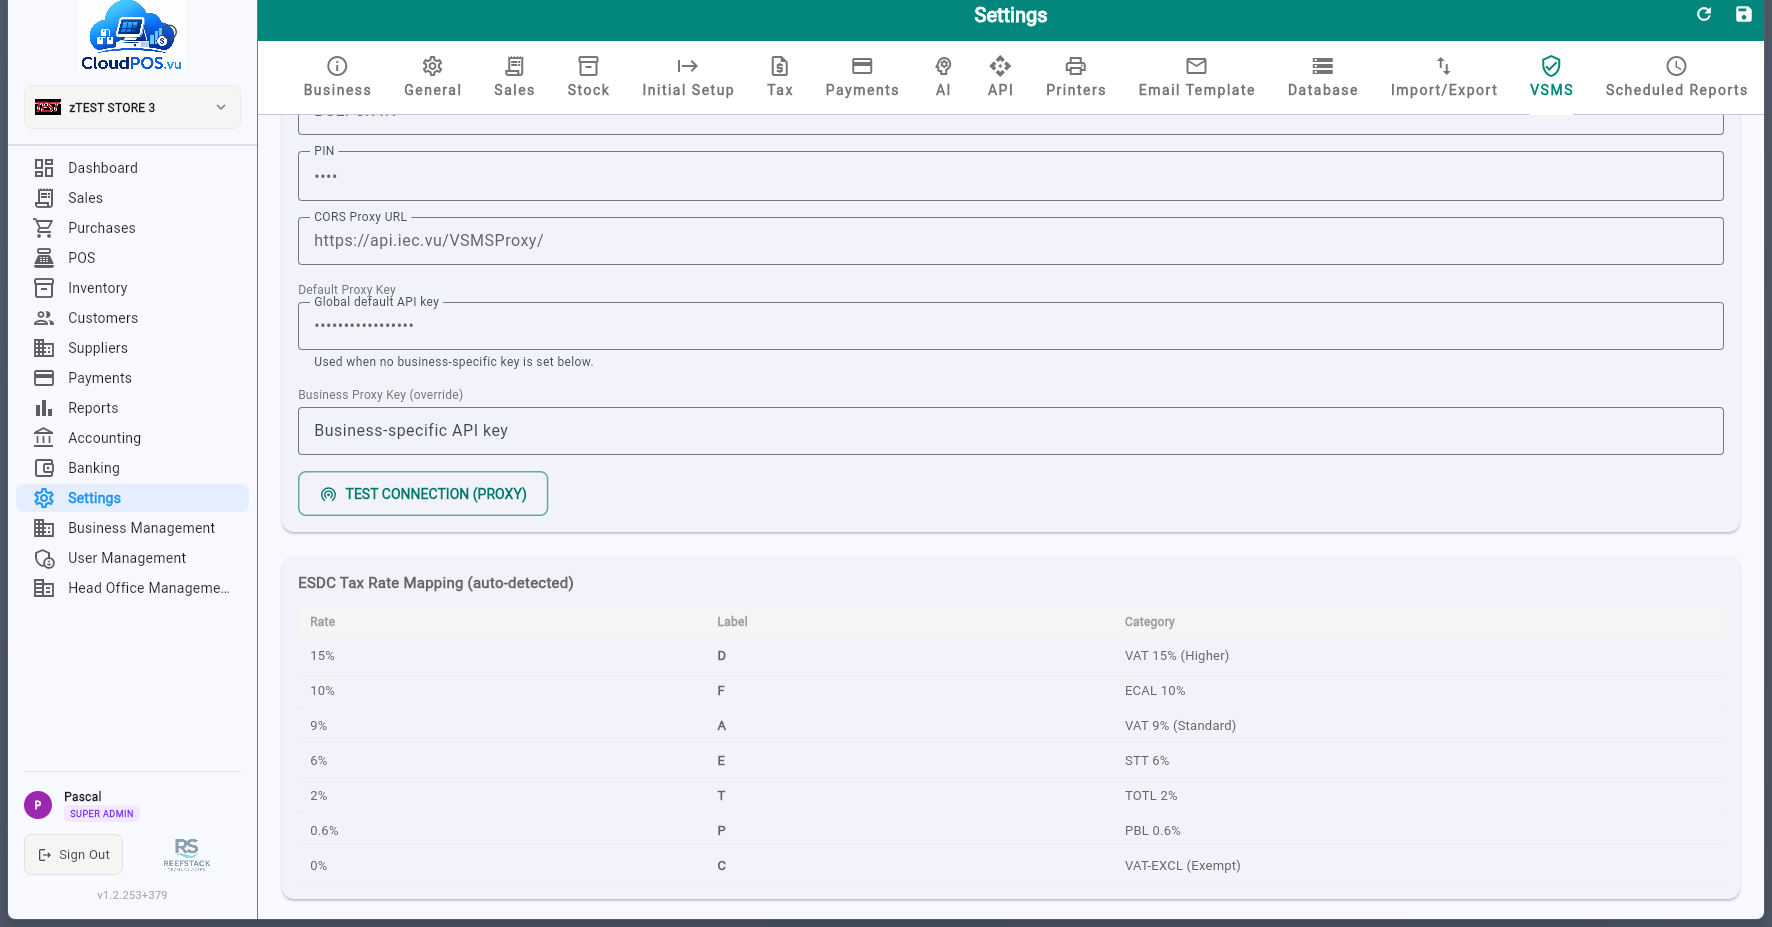
The VSMS tab configures the connection to the V-SDC (Virtual Sales Data Controller) or E-SDC for fiscal invoice verification as required by Vanuatu tax regulations.
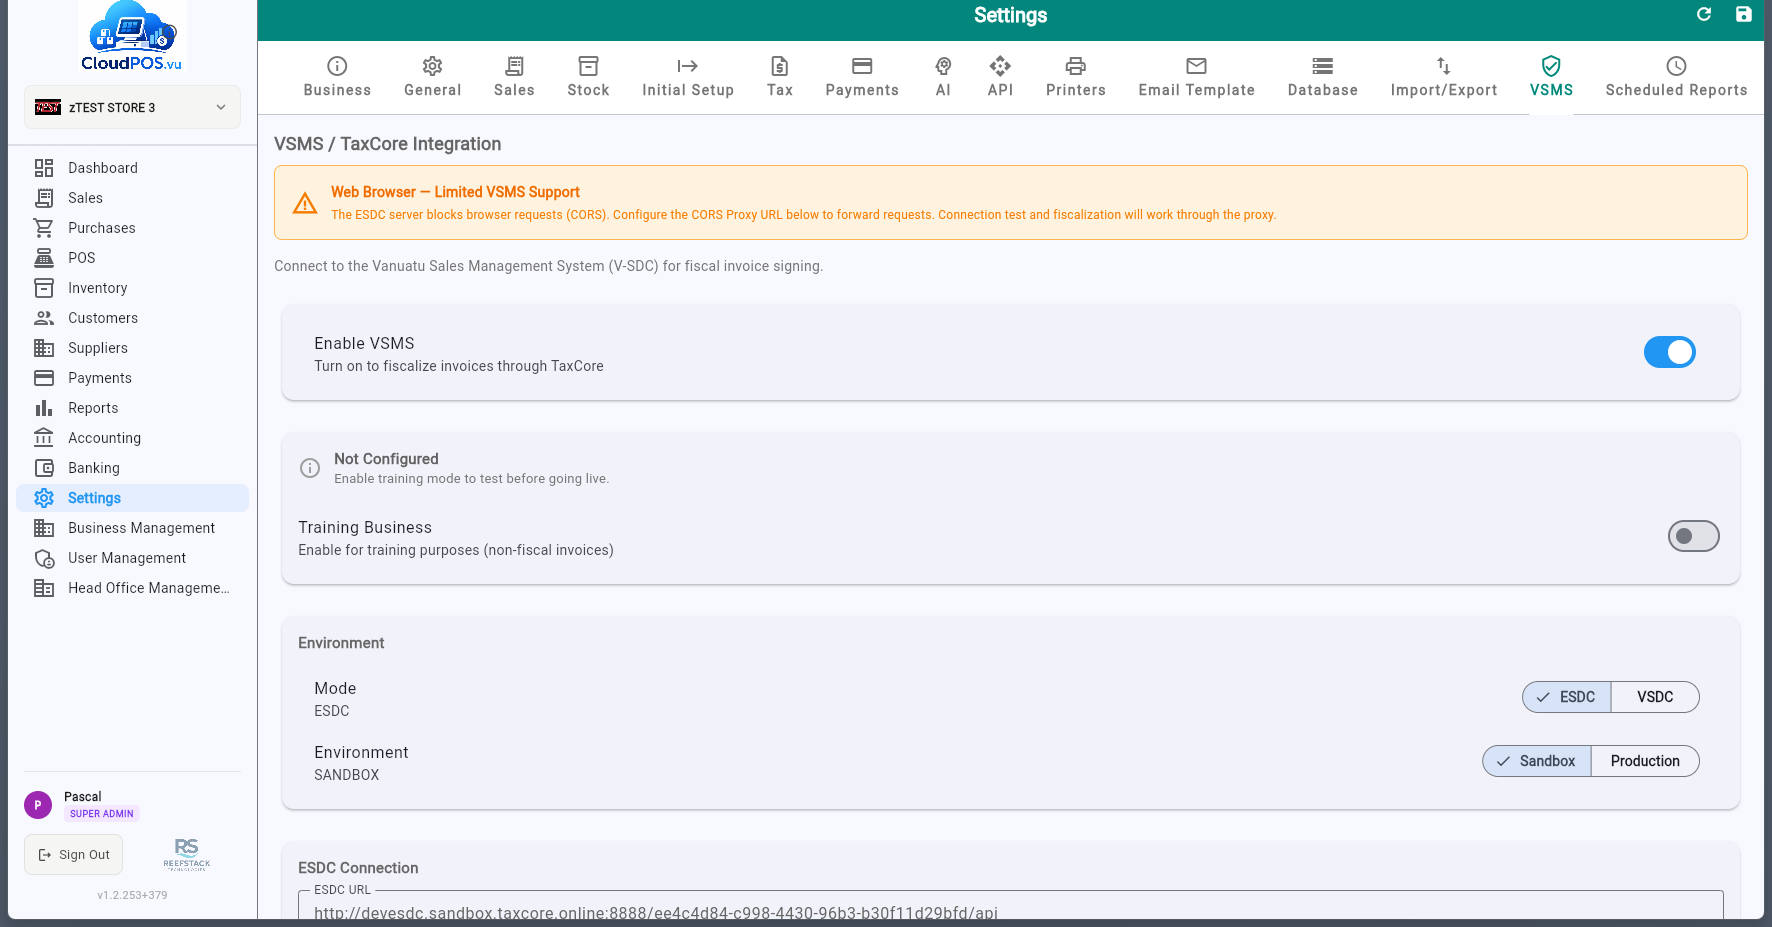
The URL of the E-SDC or V-SDC endpoint (found on the TaxCore control panel). The POS uses HTTP for E-SDC (local) and HTTPS for V-SDC (cloud).
The authentication token for the E-SDC, available on the TaxCore control panel.
The POS accreditation number assigned during the TaxCore accreditation process (also shown on the TaxCore control panel).
The smartcard access PIN used to identify against the SDC. Found on the TaxCore control panel. ⚠️ Maximum 5 attempts — entering the wrong PIN too many times will lock the smartcard. If locked, you can unlock it from the TaxCore control panel.
Verifies mutual authentication between the POS and the SDC using the PIN. On success, the POS receives configuration parameters including available tax rates and labels.
After a successful connection, the SDC tax rates are auto-detected and mapped to local tax configuration. Tax labels (A, E, F, etc.) come directly from the SDC.
Click the application logo in the sidebar to access System Information. This screen displays:
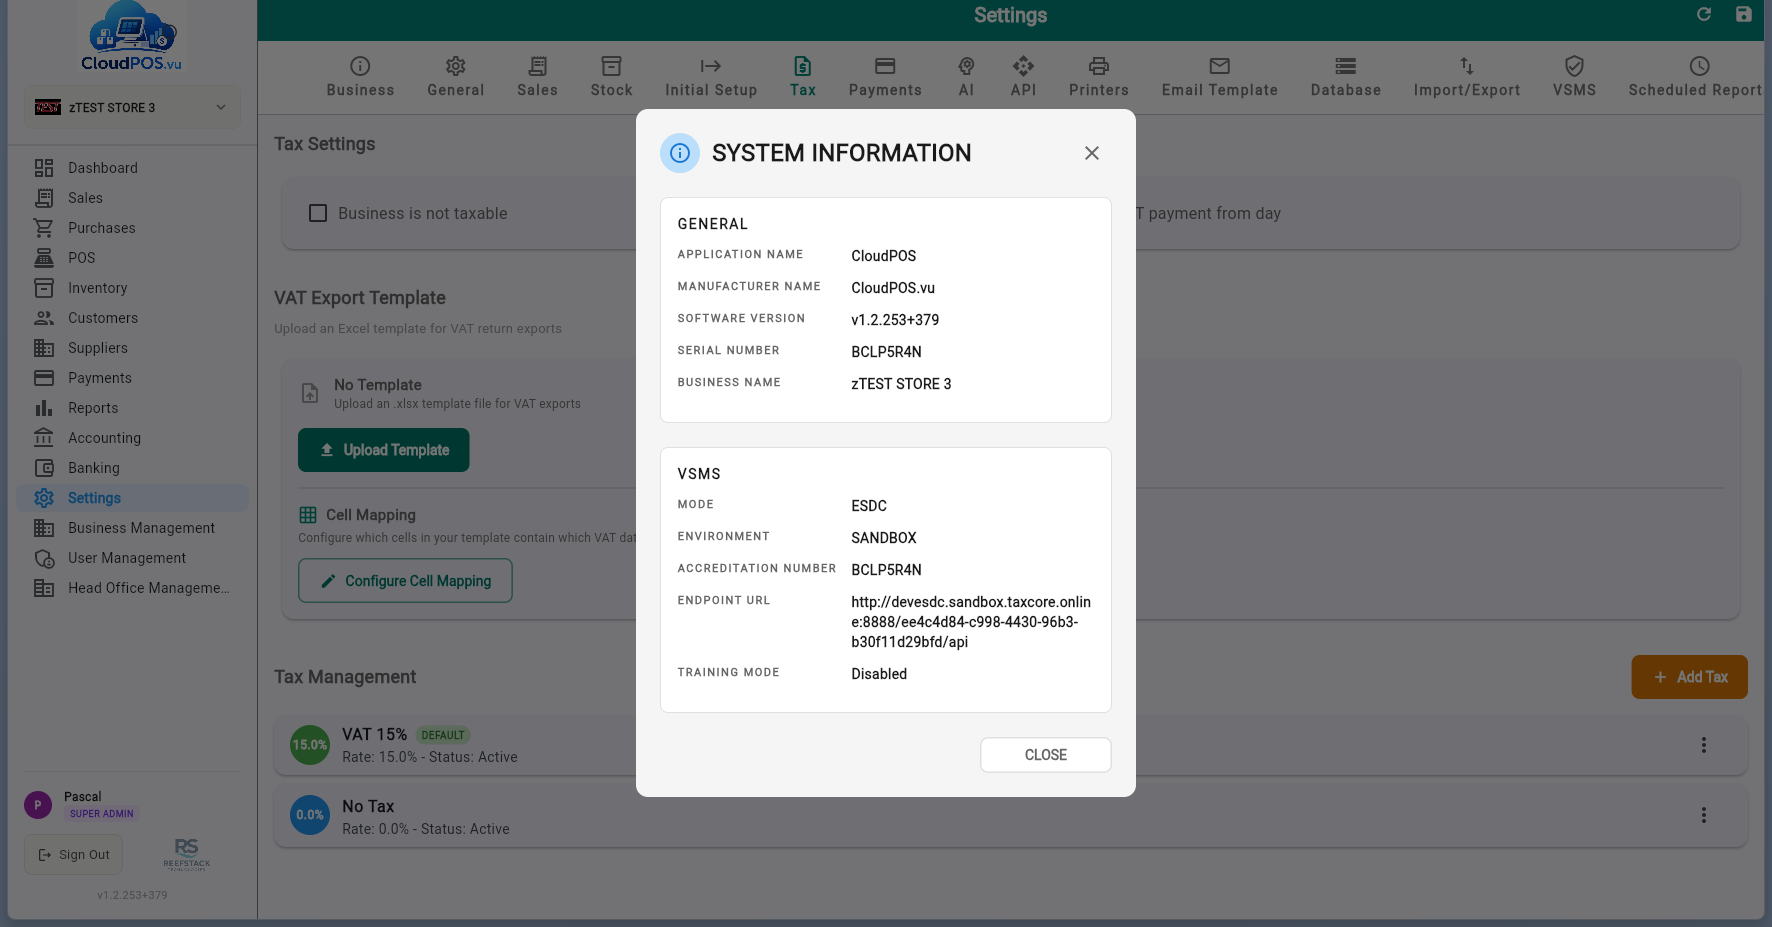
ReefStack Technologies — the software developer.
Application version and build number for support and audit purposes.
Unique device/installation identifier.
SDC connection status and registered TIN.
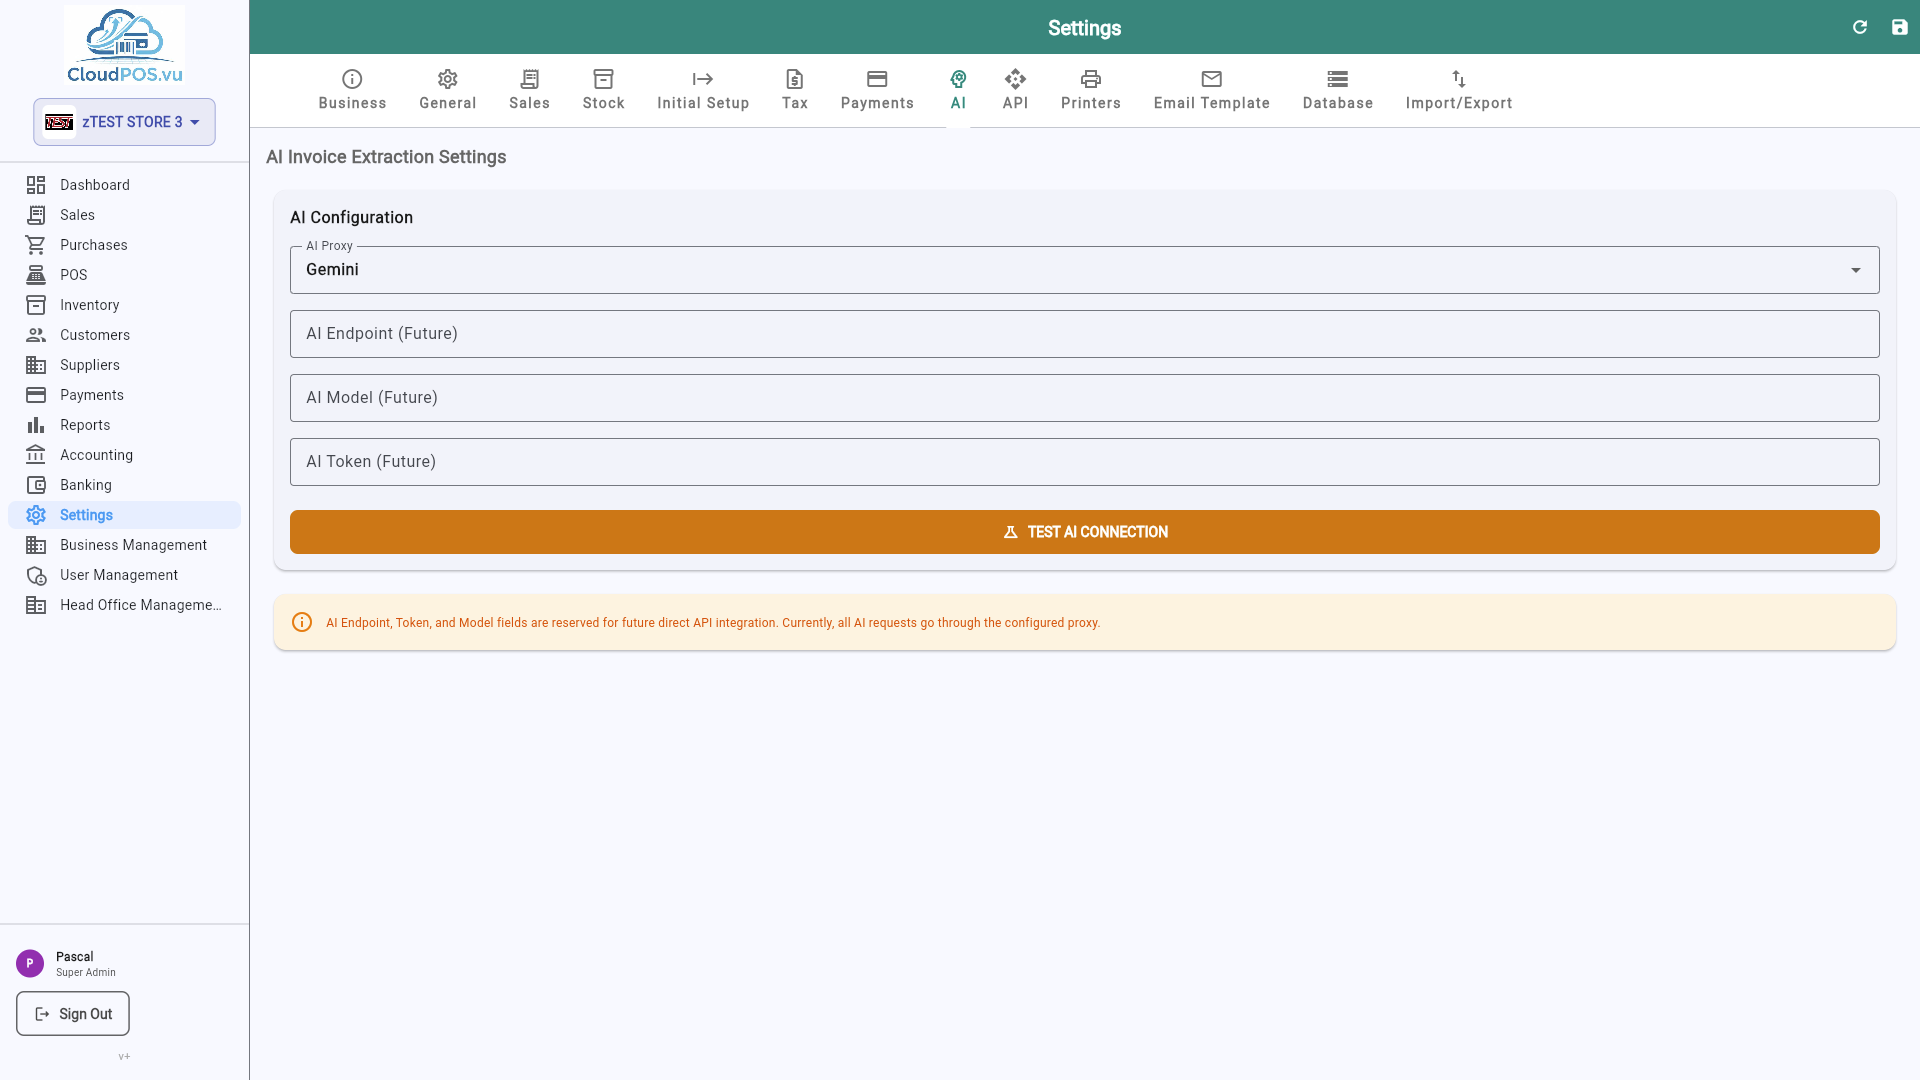
The AI tab configures integration with OpenAI for intelligent features like product descriptions, categorization, and smart suggestions.
The API tab manages API keys for programmatic access and webhook endpoints for real-time notifications.
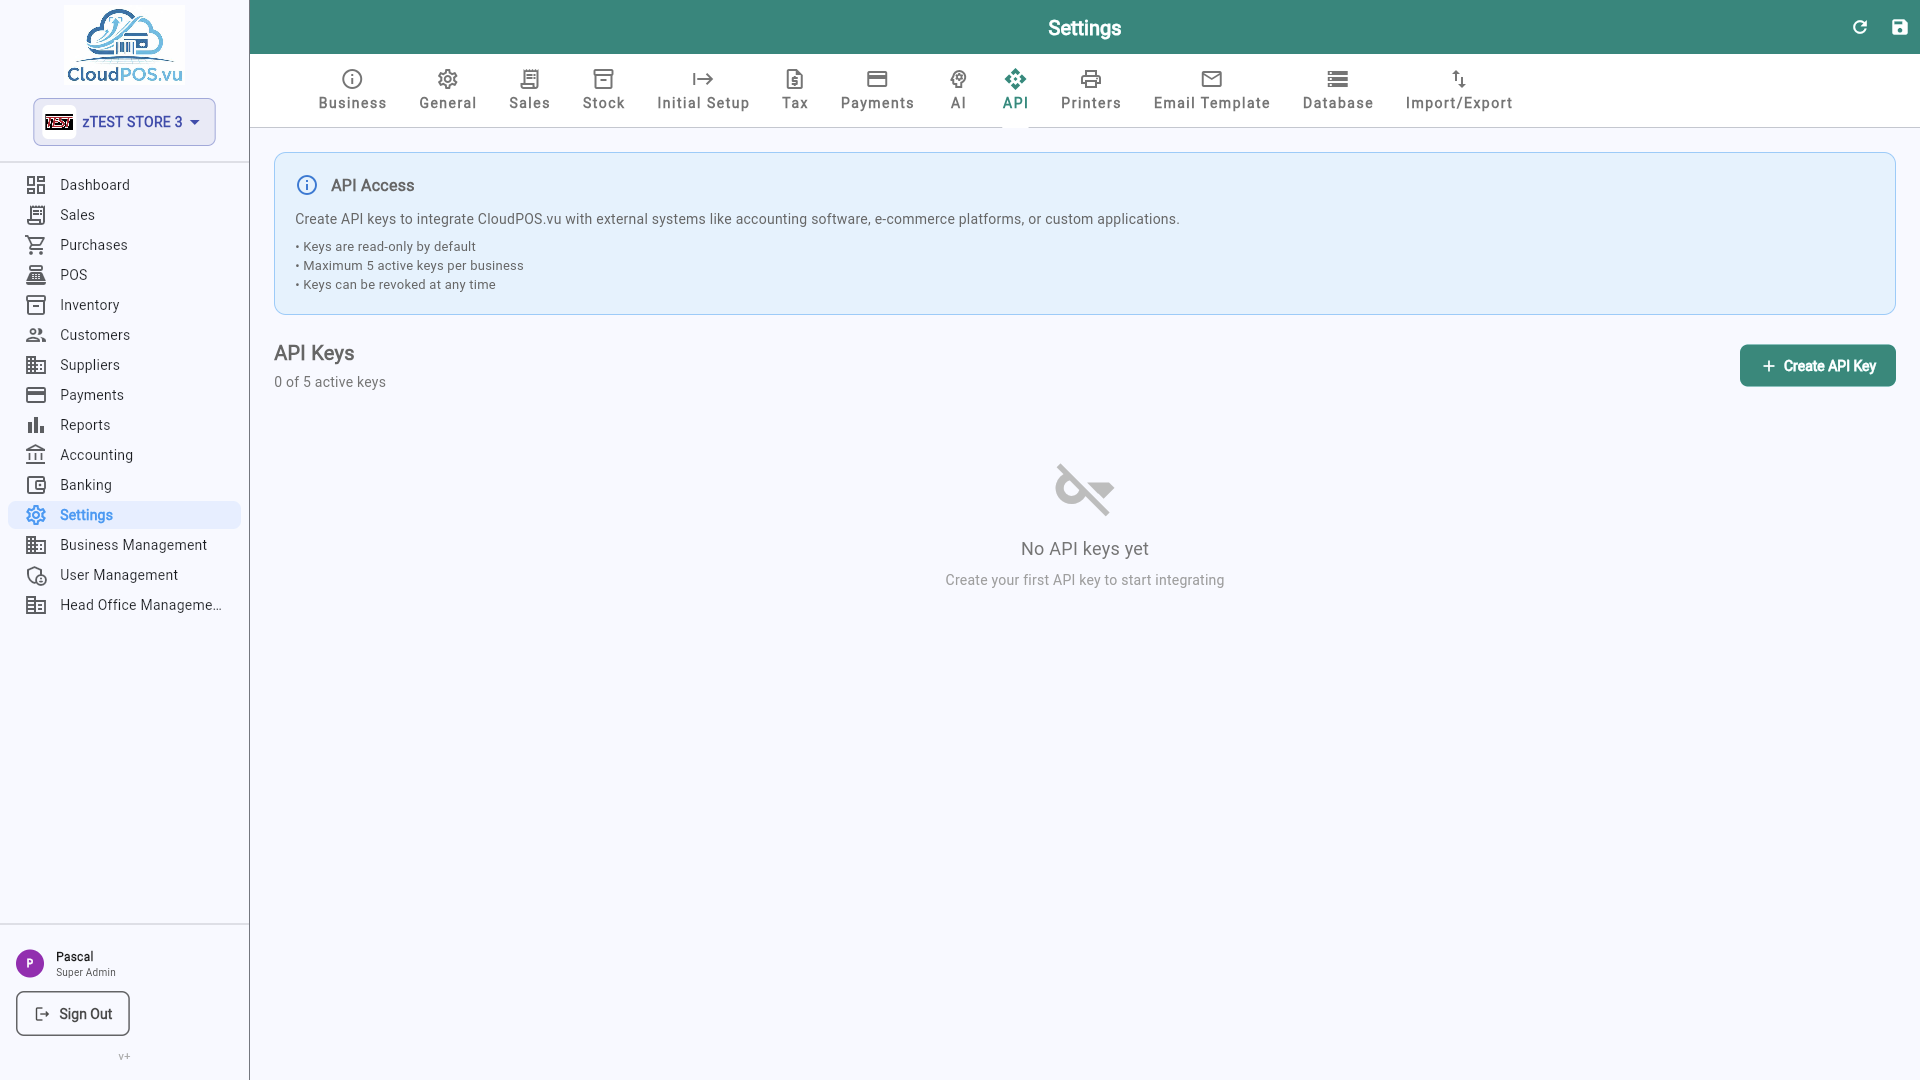
Generate and revoke API keys for external integrations. Keys are scoped to your business.
Configure webhook URLs to receive real-time notifications for events like new invoices or payments.
The Printers tab configures POS receipt printers and label printers connected to your terminal.
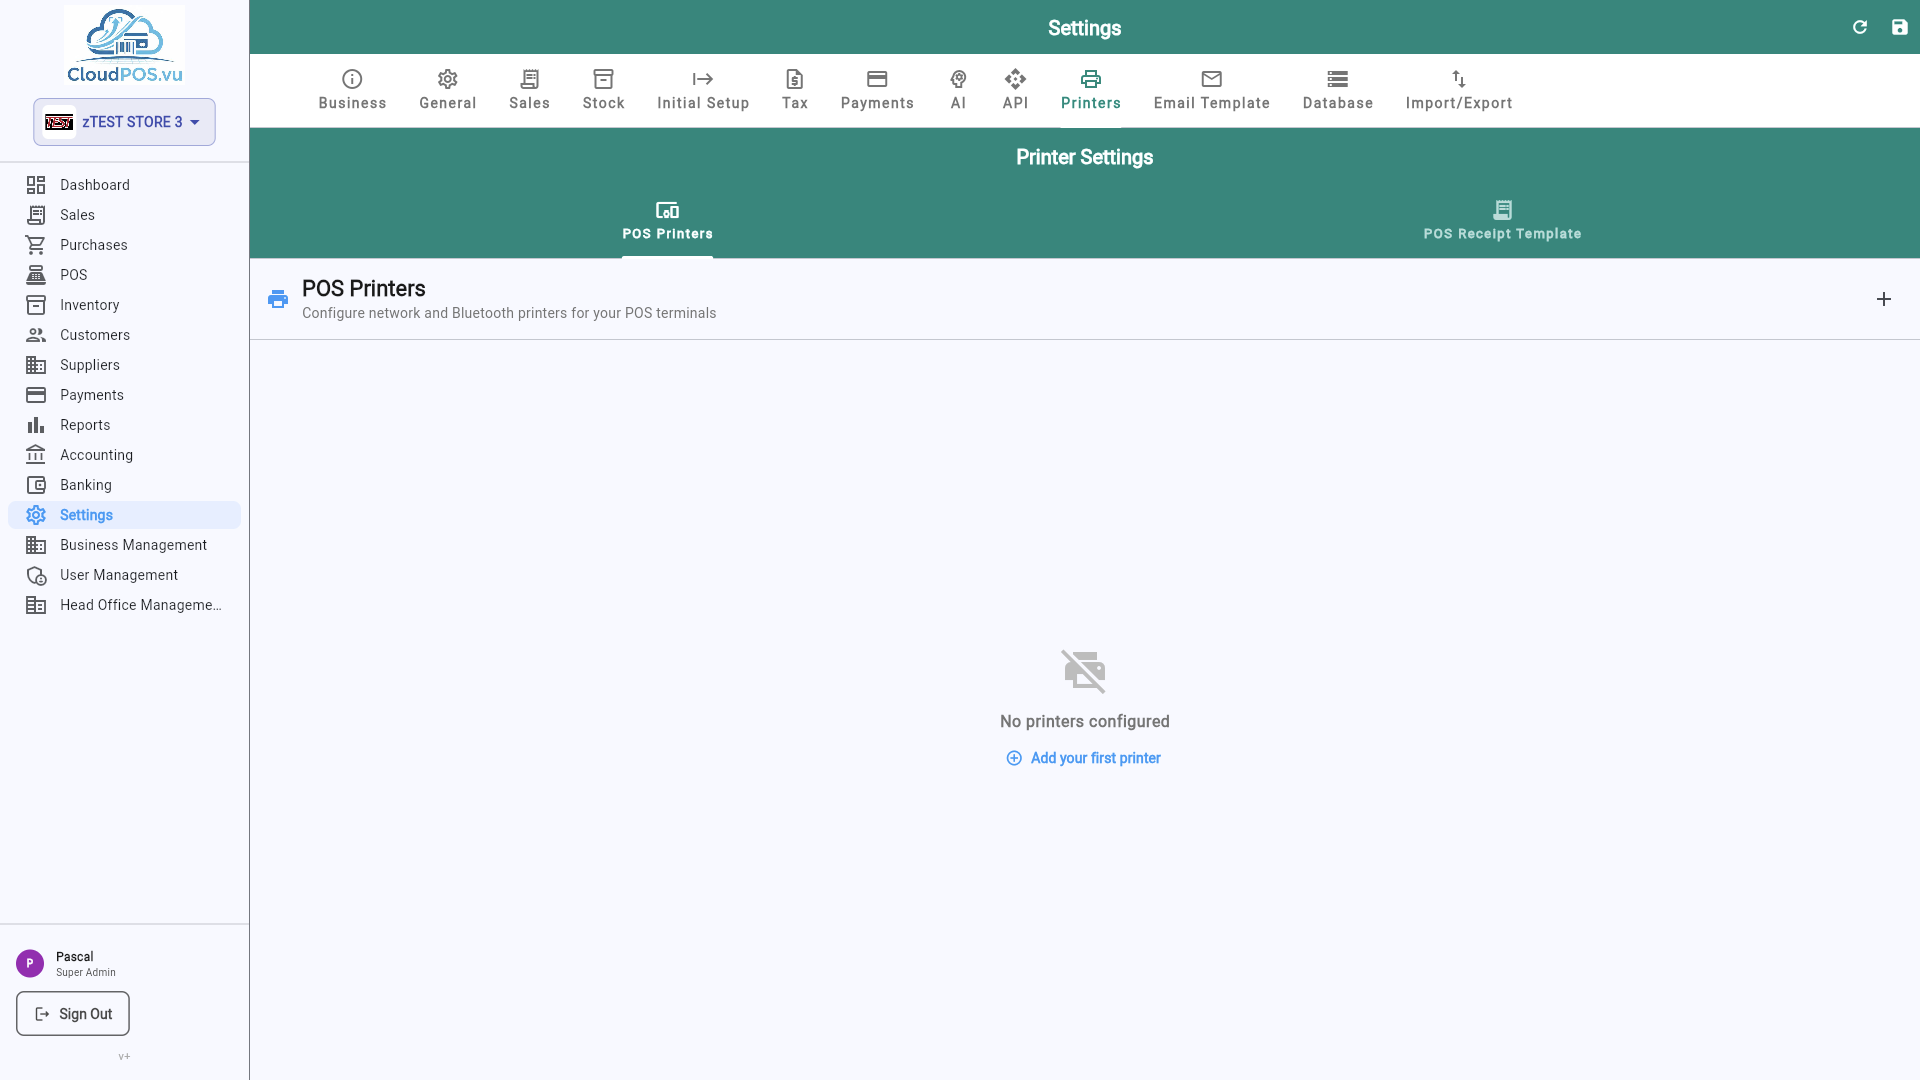
- Receipt Printer — Configure ESC/POS-compatible thermal printer (USB, Bluetooth, or network).
- Label Printer — Set up a barcode/price label printer for shelf labeling.
- Paper Size — Choose 58mm or 80mm receipt width.
The Email Template tab customizes the default email sent when you email invoices, quotations, or receipts to customers.
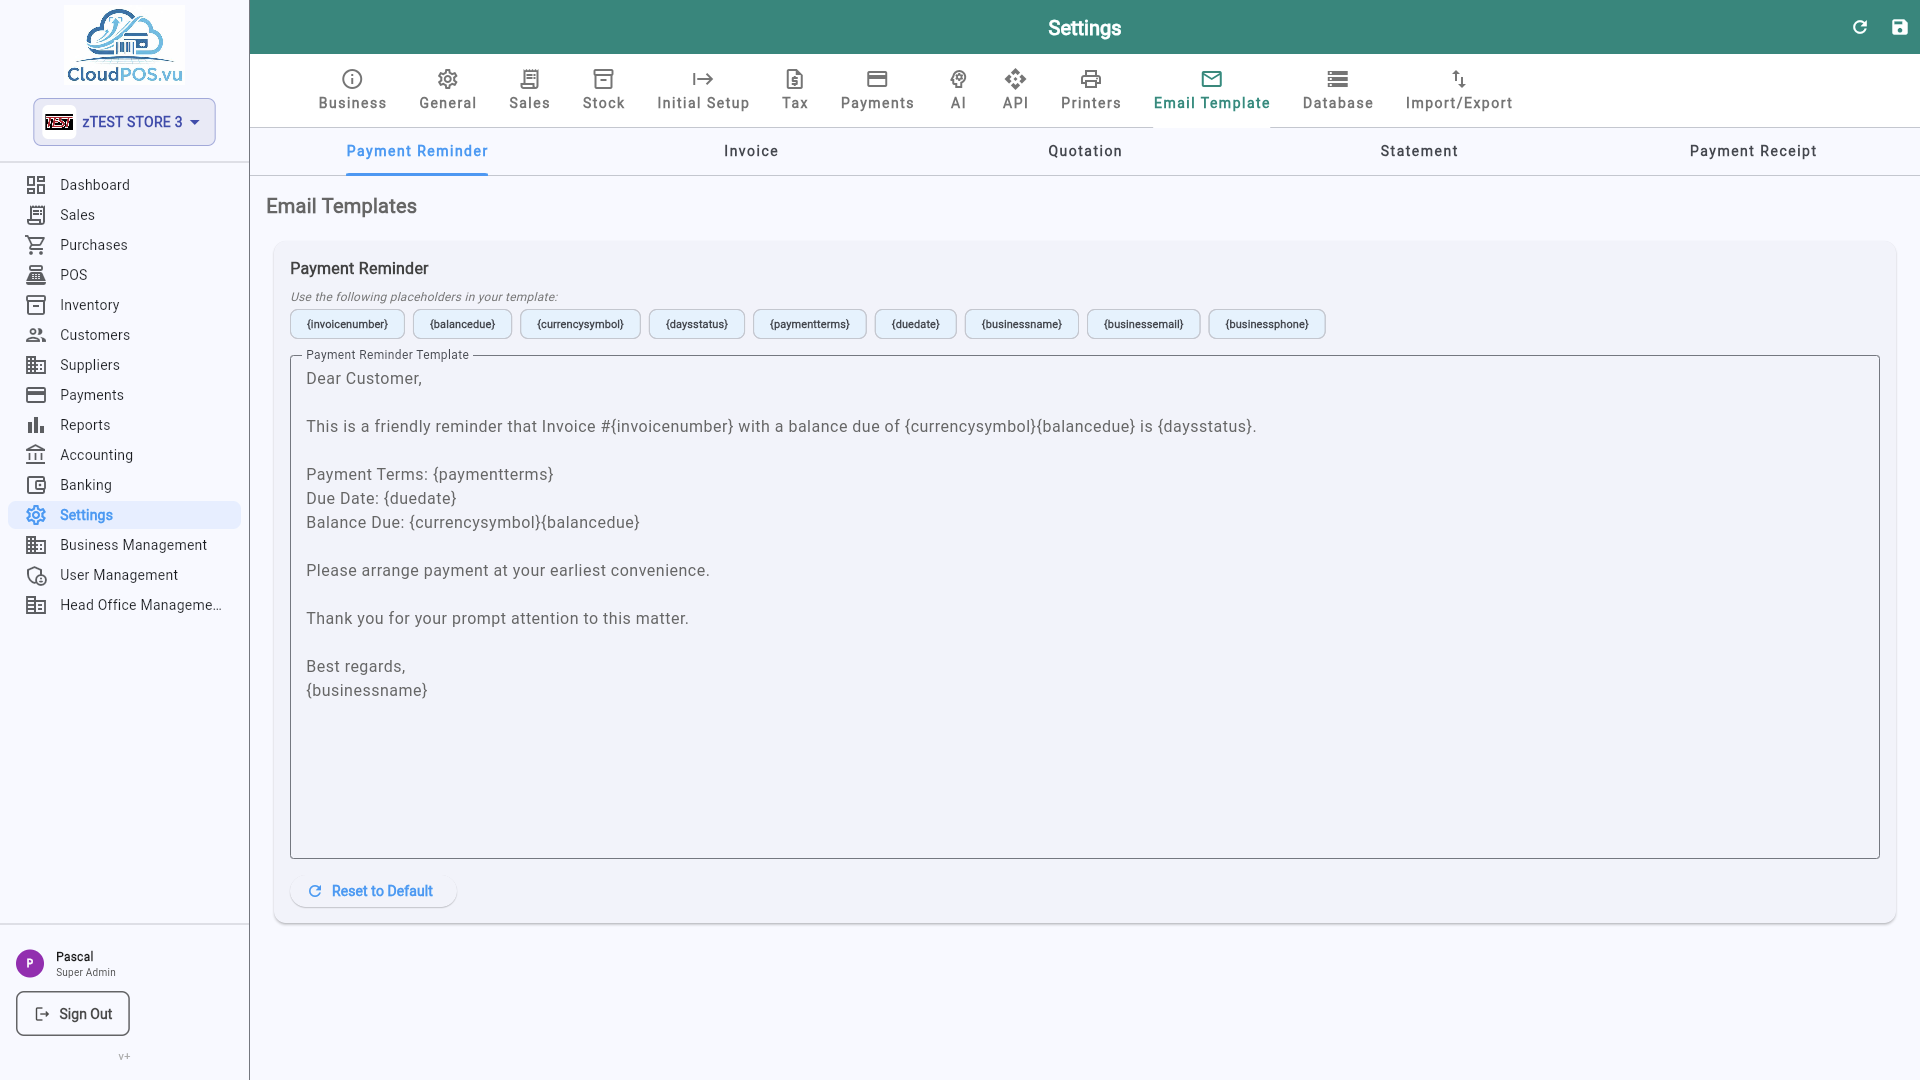
- Subject Line — Customizable with variables like {{invoice_number}}, {{customer_name}}, {{total}}.
- Email Body — Rich text editor with dynamic placeholders for personalized messages.
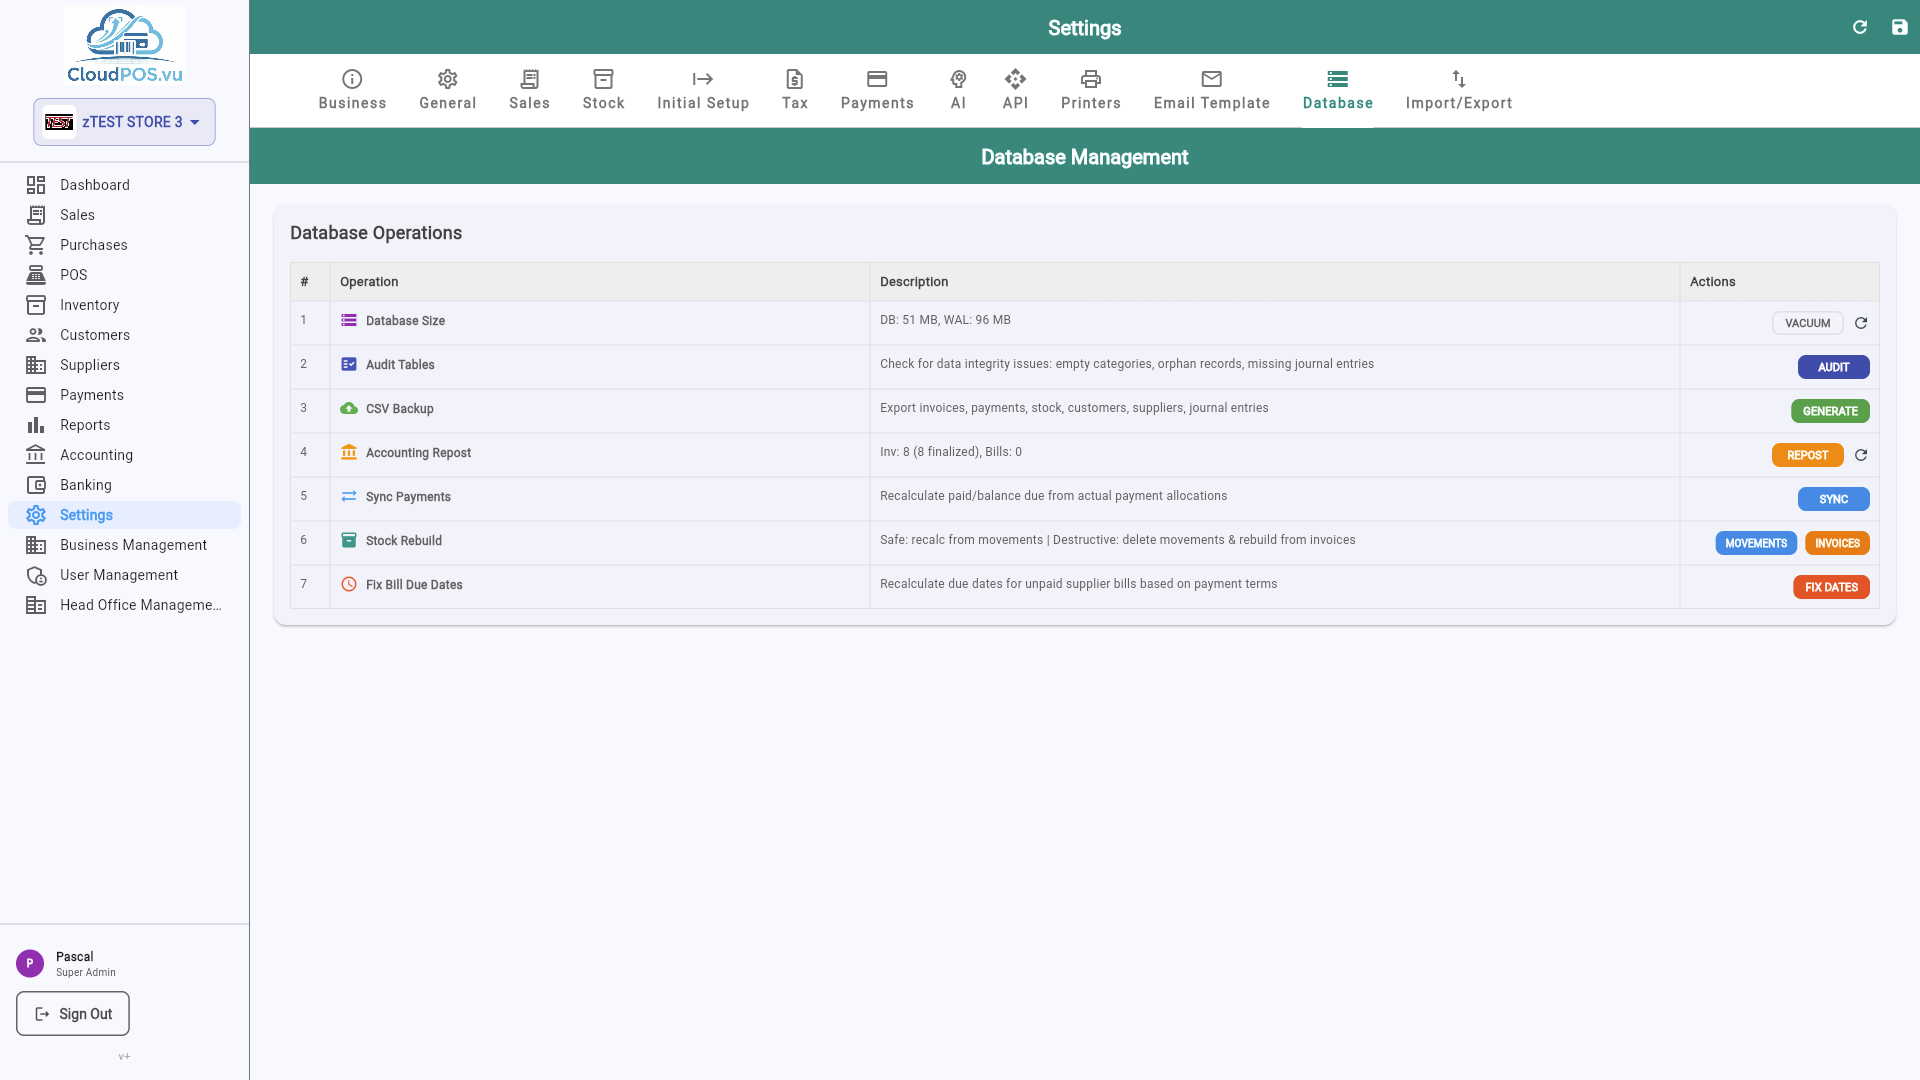
The Database tab provides low-level database management tools — migrations, backups, and maintenance.
The Import / Export tab lets you bulk-import products, customers, and transaction data from CSV files, or export your catalog for backup or migration.
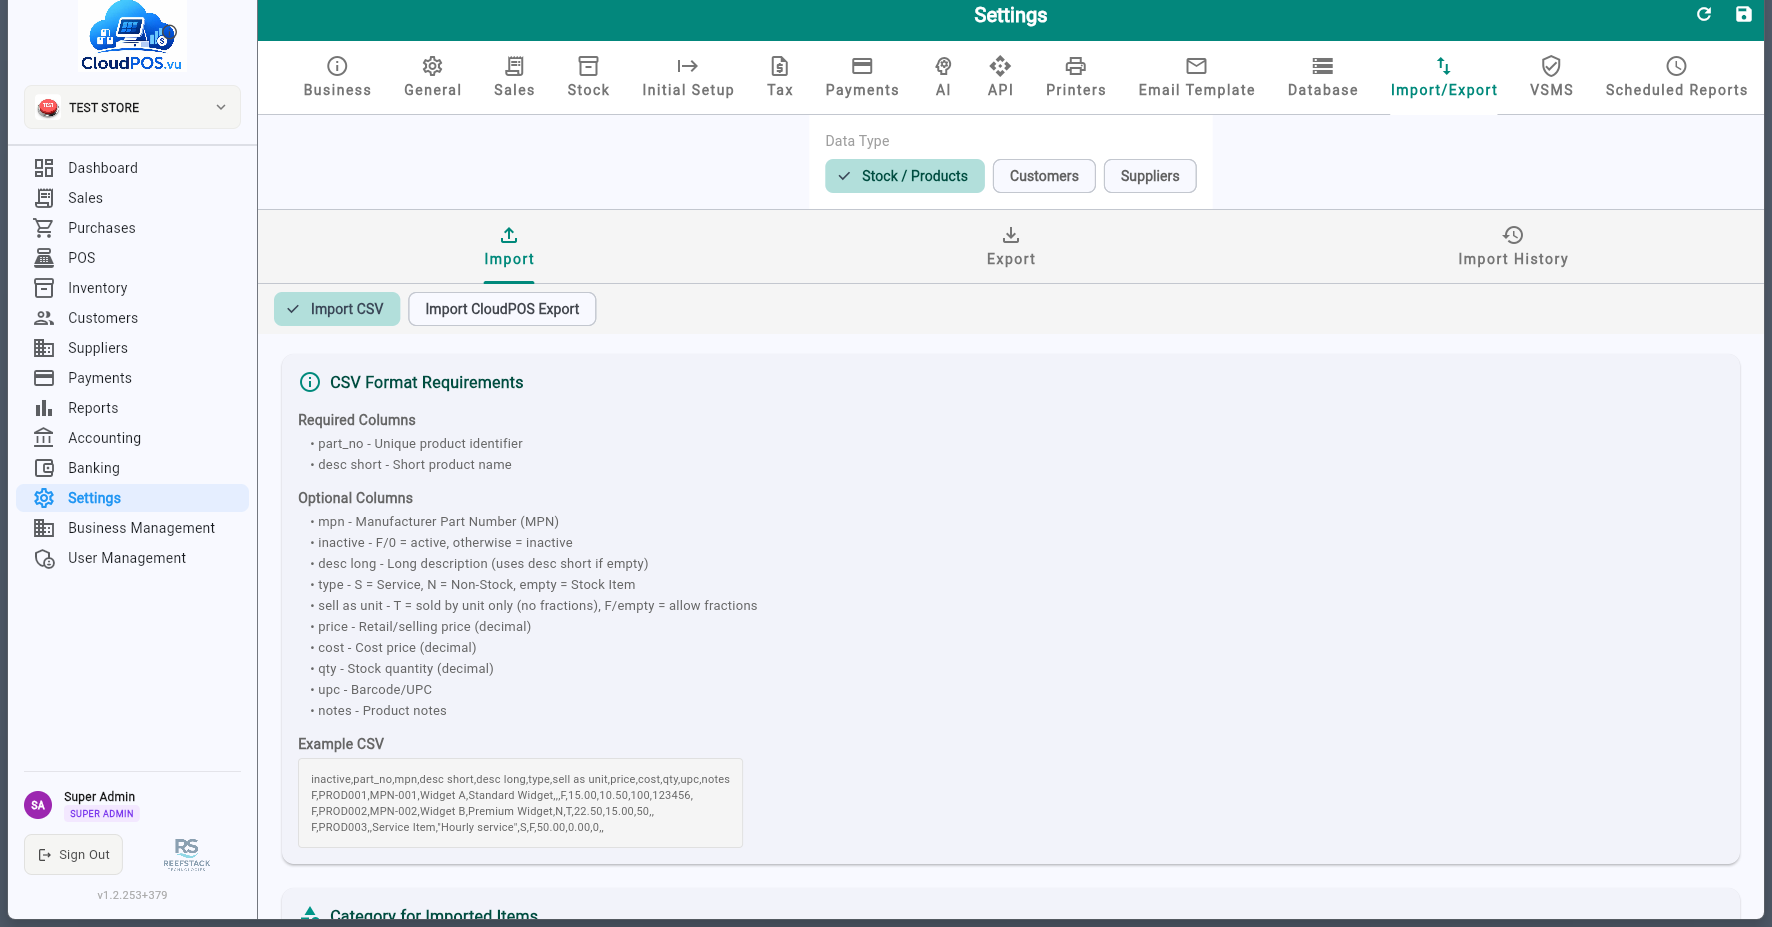
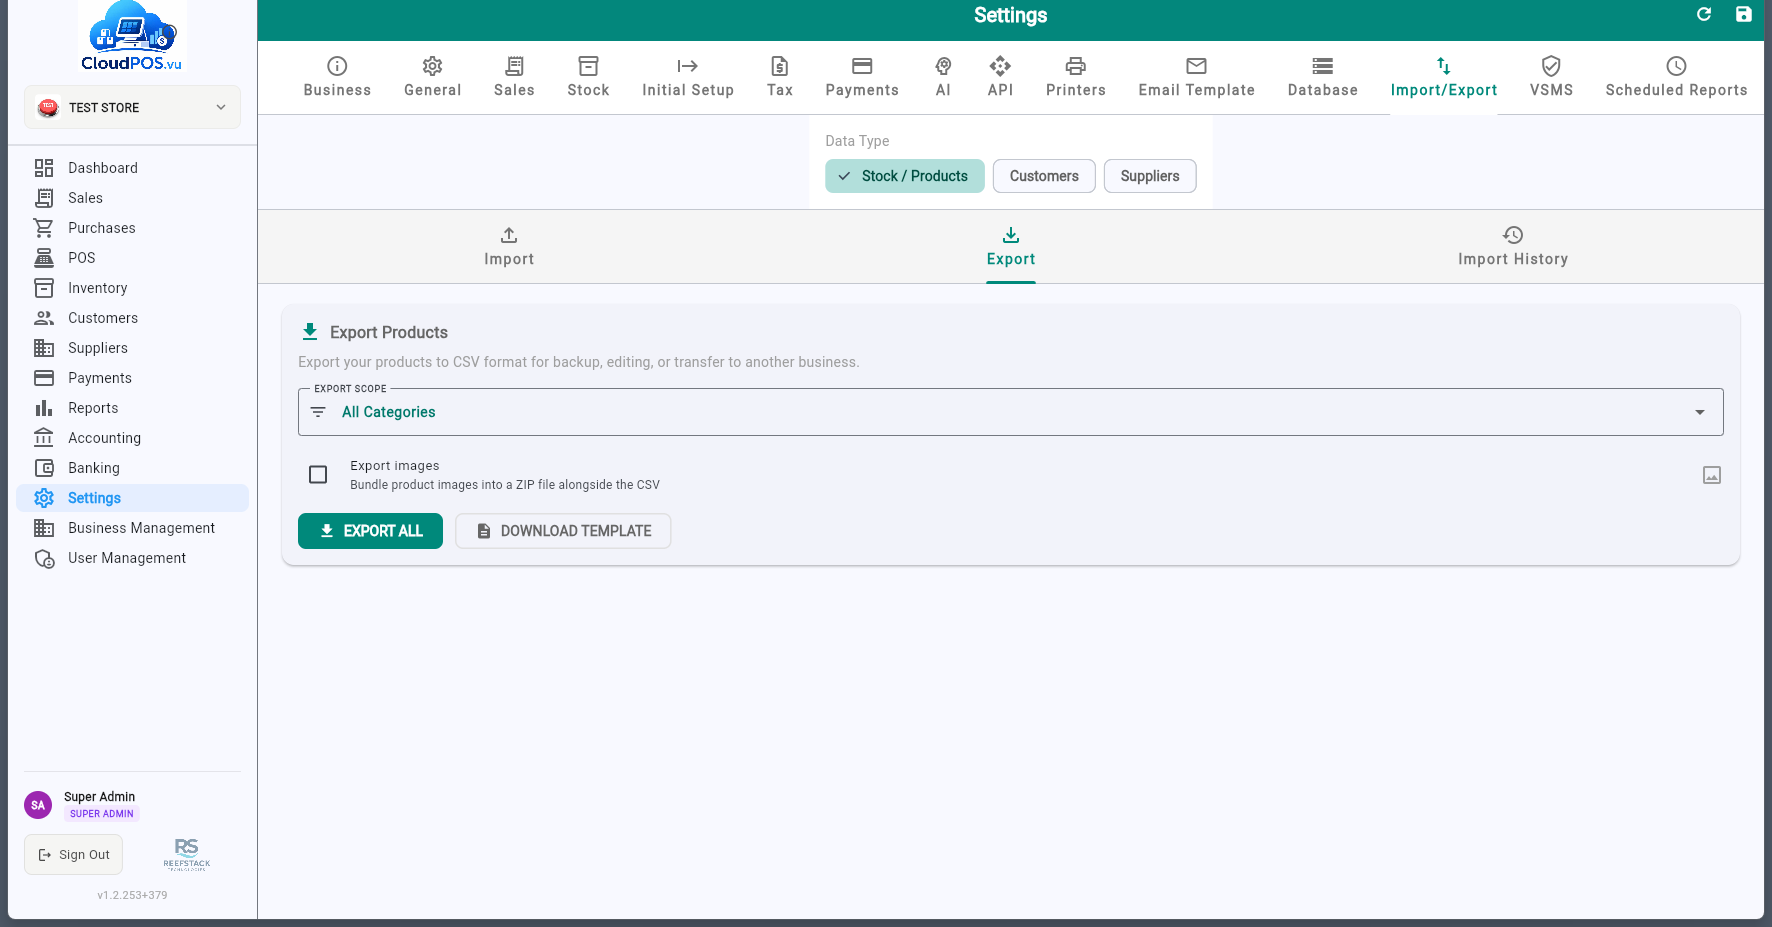
Download products, customers, invoices, or chart of accounts as CSV files.
Upload CSV files to bulk-create products, customers, or inventory. Includes preview and validation before committing.
Import transaction line items from CSV files containing article ID, price, quantity, and other necessary information. Items are matched to the product catalog automatically.
View all past imports with the option to undo. Ensures data integrity for bulk operations.
The Scheduled Reports tab lets you configure recurring reports that are automatically generated and sent by email at scheduled times.

Each report card shows the report type, frequency, period, send time, and recipient emails. Use the toggle switch to enable or disable a report without deleting it.
Creating a Report
Click ADD REPORT to open the configuration dialog:
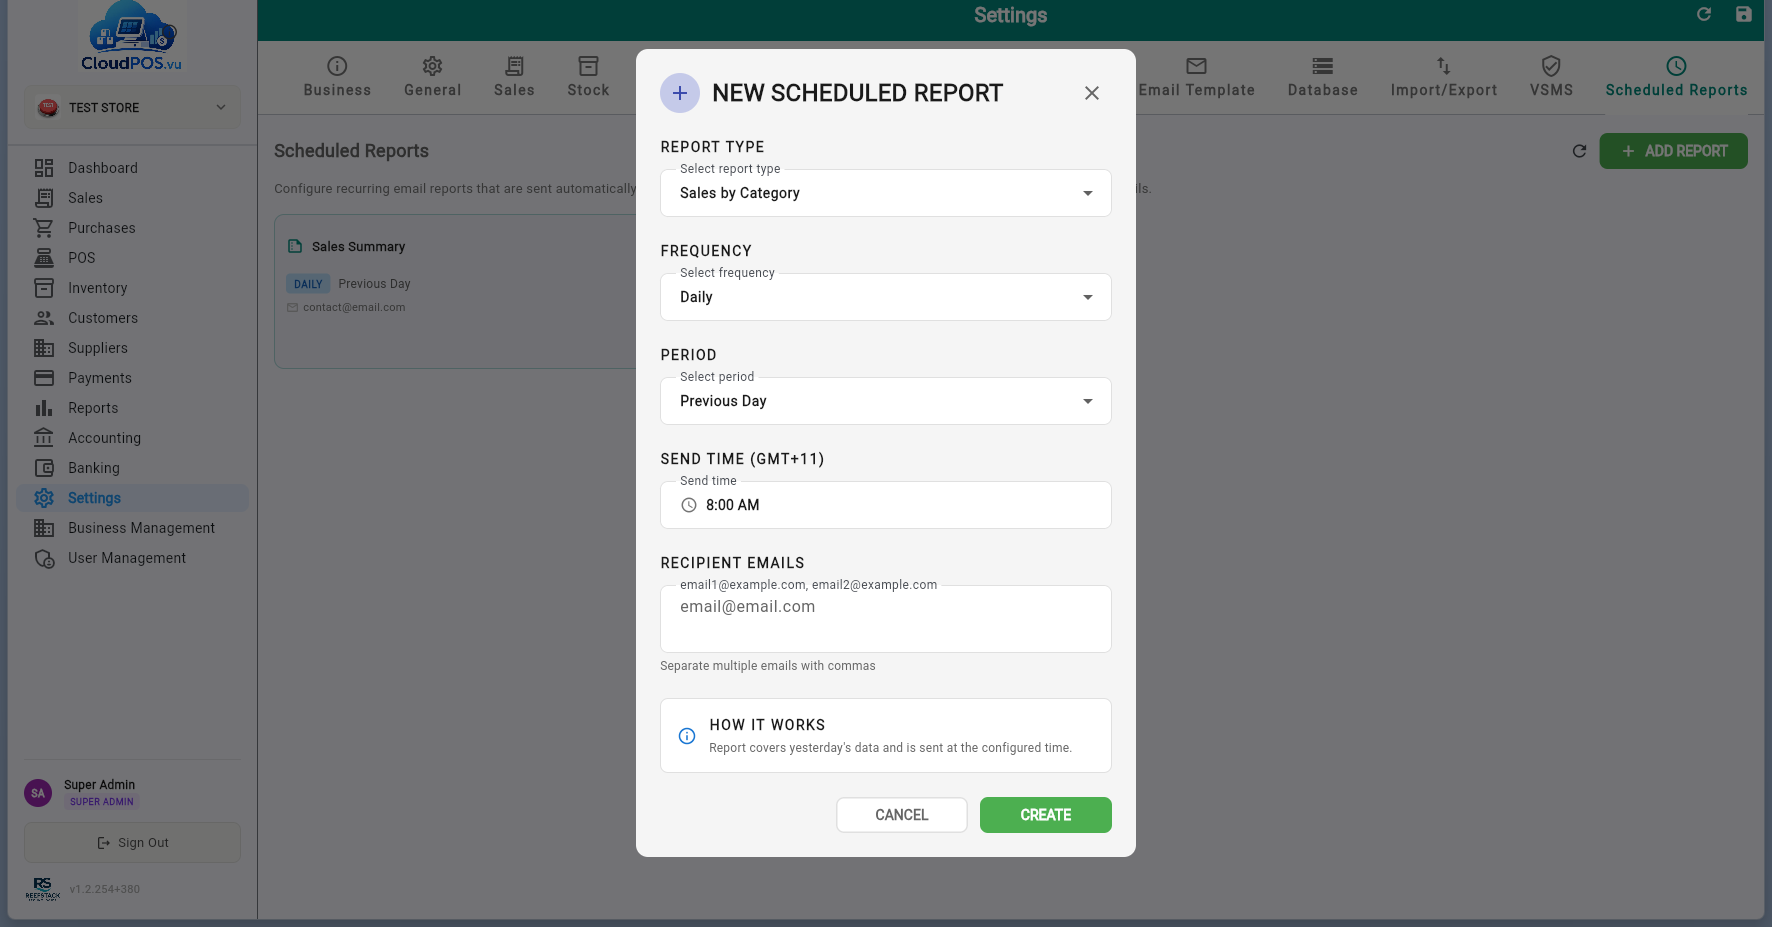
Sales Summary — total sales, tax, and payment breakdown.
Sales by Product — sales grouped by product.
Sales by Category — sales grouped by category.
Customer Balance — point-in-time snapshot of outstanding customer balances (no period selection).
Payment Received — all payments received in the period.
Daily — sent every day at the configured time.
Weekly — sent on the selected day of the week (Mon–Sun).
Monthly — sent on the selected day of the month (1–31).
Previous — covers the completed period (yesterday, last week, last month).
Current — covers the ongoing period so far (today, this week, this month).
The time the report is generated and emailed, in GMT+11 (Vanuatu time).
One or more email addresses separated by commas. Reports are sent as HTML emails.