Getting Started Guide
How to connect to your head office, sign in, and select a business to start using CloudPOS.vu.
Quick Overview
When you first open CloudPOS.vu, you'll see the Head Office connection screen. This is where you link your app to the correct organisation's database.
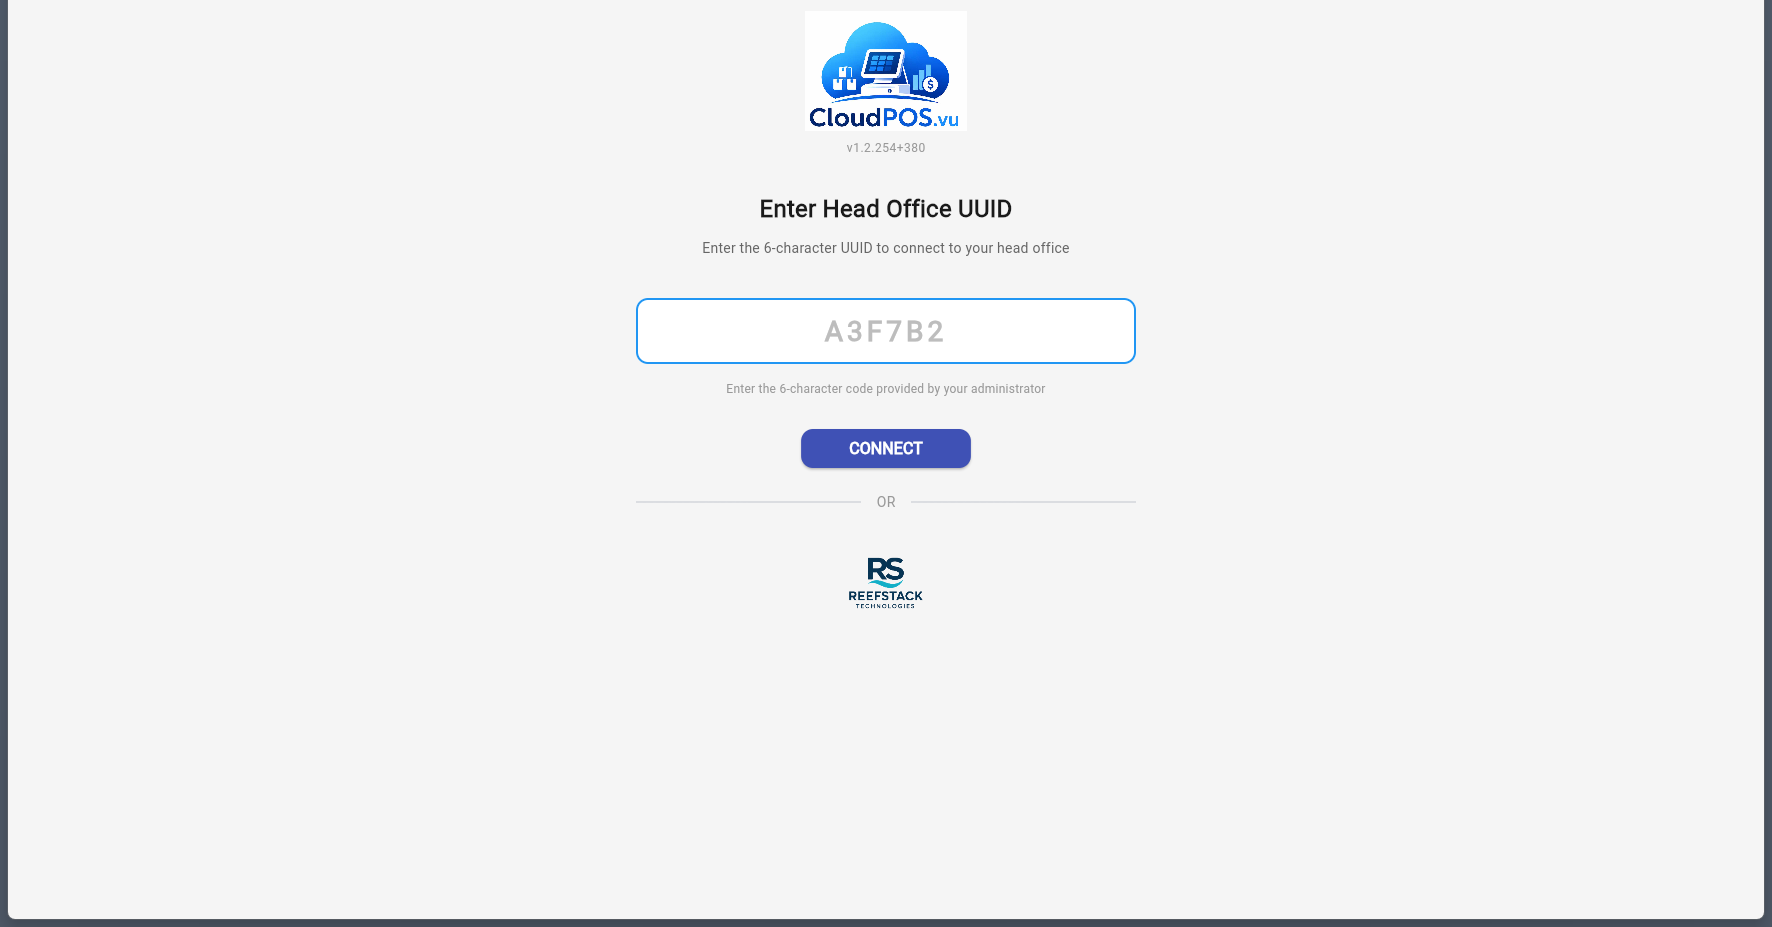
To connect:
- Enter the 6-character UUID provided by your administrator or developer.
- Click Connect.
- The app will verify the UUID and connect to the corresponding head office database.
The UUID is a 6-character alphanumeric code (e.g. B679B8) assigned to each head office. Contact your administrator or the CloudPOS.vu support team to receive yours.
After connecting to a head office, you'll see the login screen with the head office name displayed at the top.
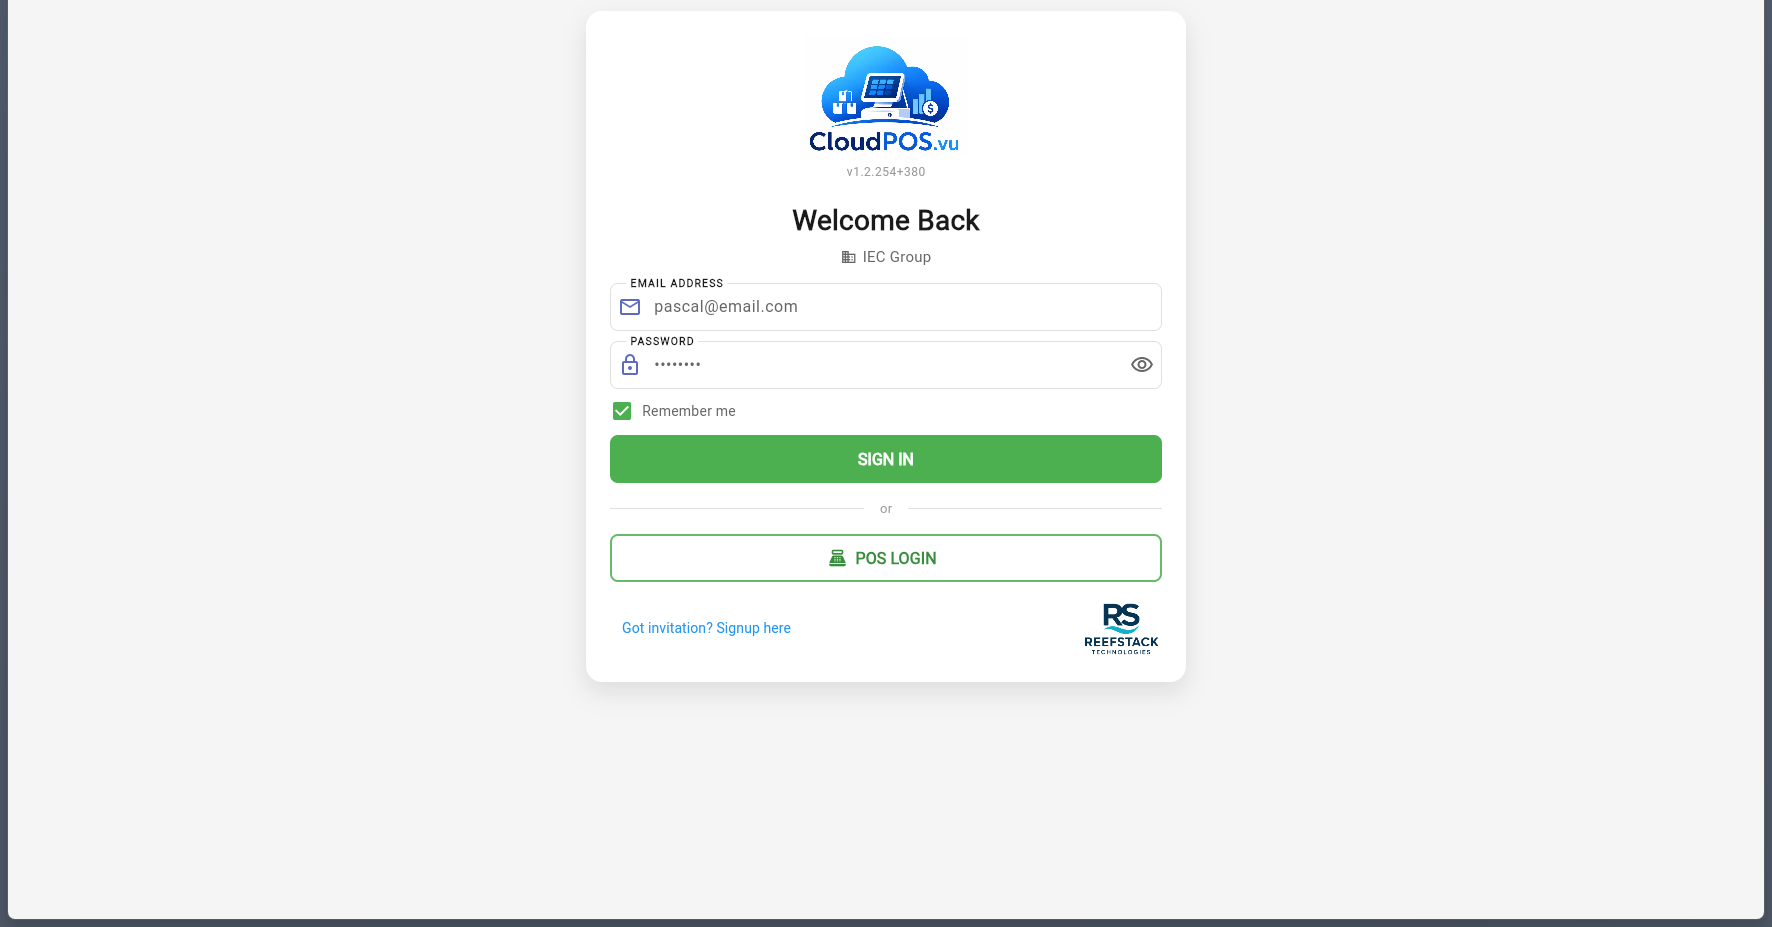
Enter your credentials:
- Email — the address your invitation was sent to.
- Password — the password you set during signup.
- Click Sign In.
Password reset is handled by your administrator. If you cannot access your account, contact your head office administrator who can trigger a password reset via the built-in OTP system. You'll receive a one-time code by email to set a new password.
New users must receive an invitation from an administrator before they can create an account. If you have an invitation:
- Click "Got invitation? Signup here" on the login screen.
- Enter the email address that received the invitation.
- Set your password and complete the form.
- Verify your email with the OTP code sent to your inbox.
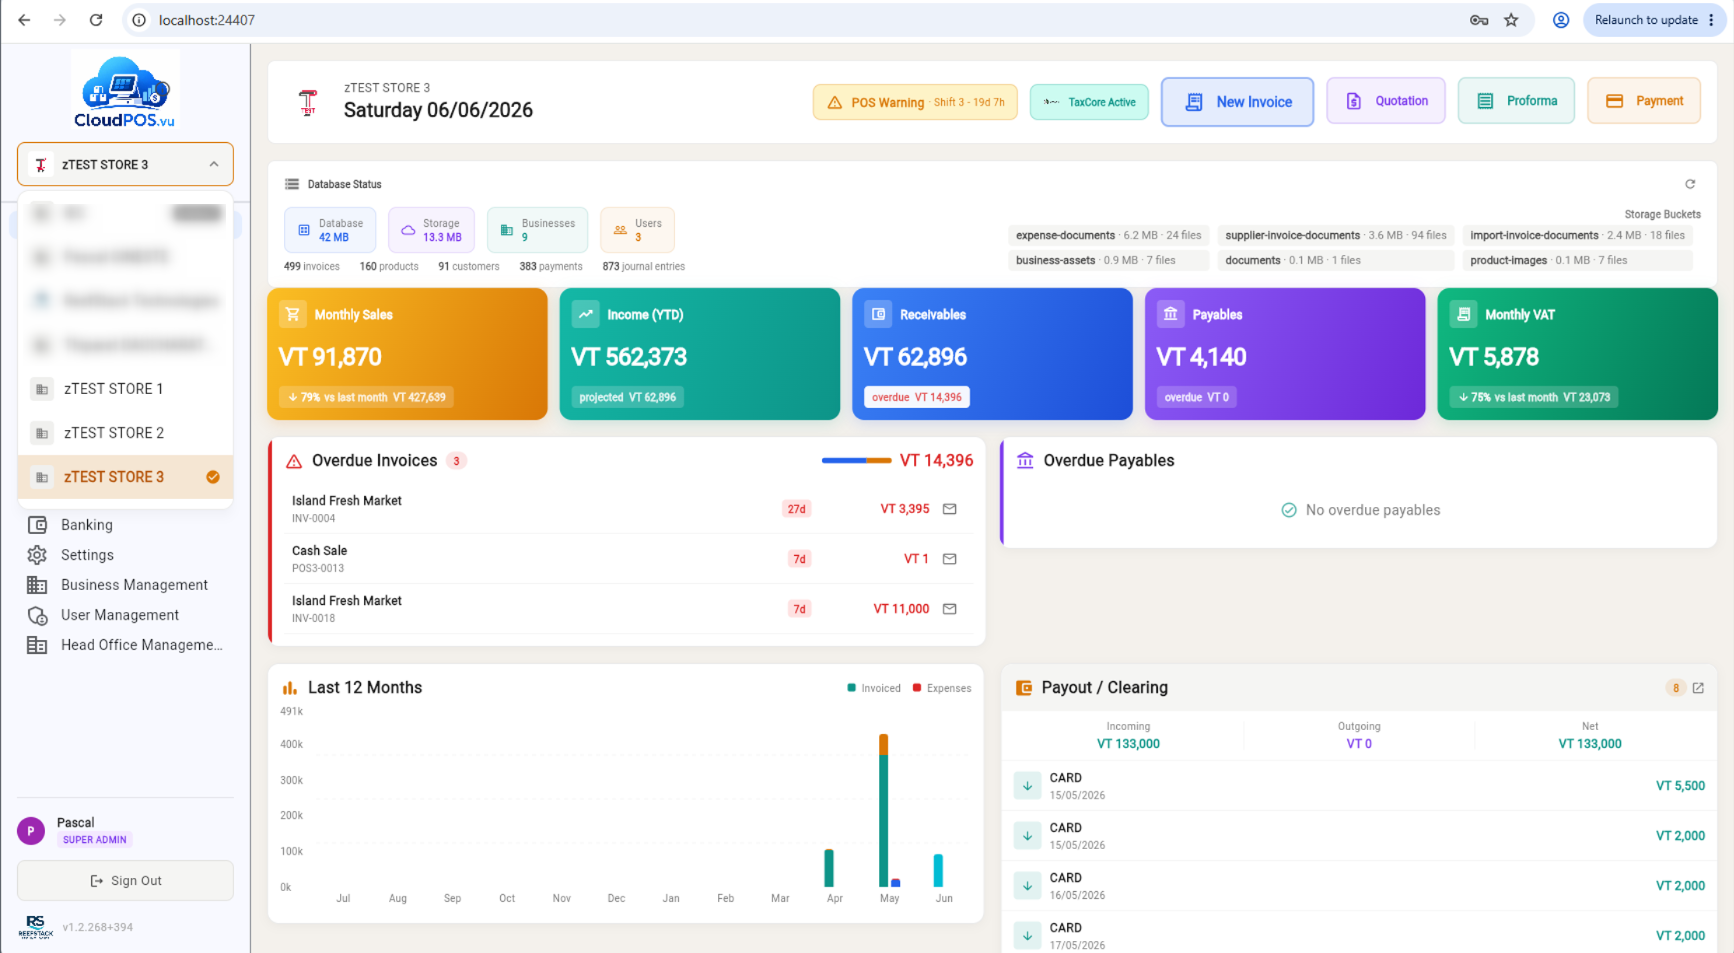
After signing in, the default business opens automatically. You can switch between businesses using the business dropdown in the sidebar.
- Choose the business from the list.
- The app will load that business's data — products, inventory, transactions, etc.
After selecting a business, you'll land on the dashboard — your central hub for managing all aspects of your business.
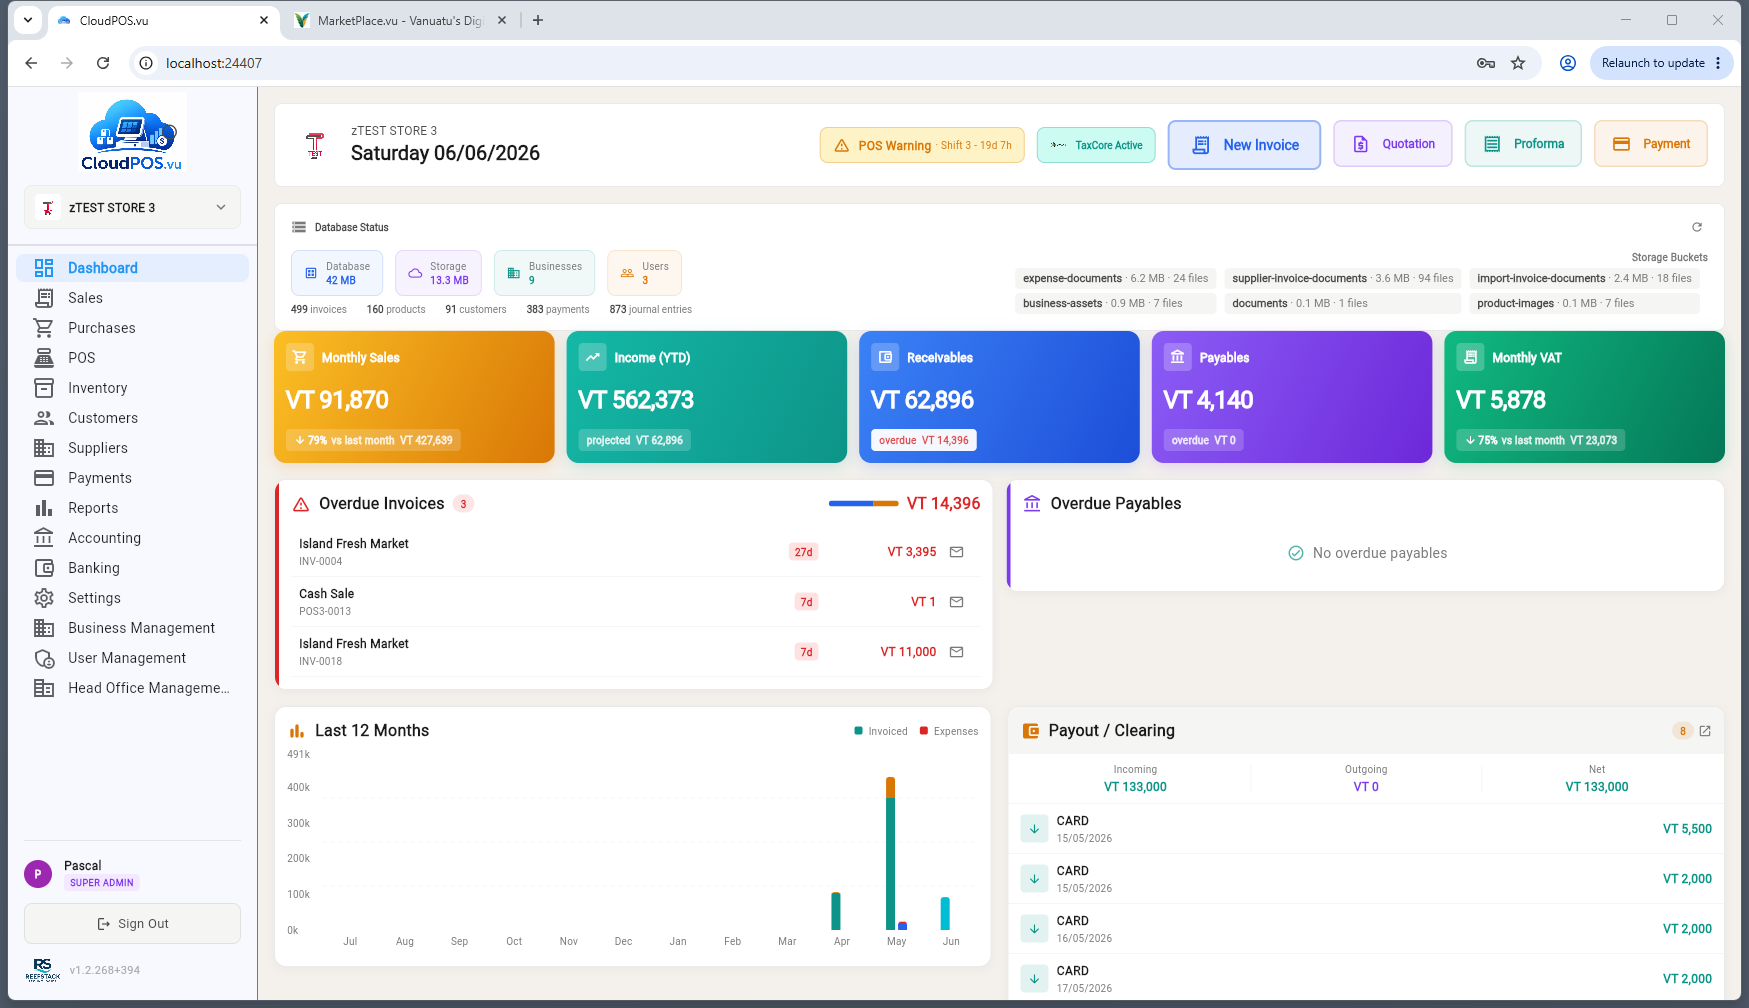
From here you can manage sales, inventory, reports, settings, and more. The sidebar navigation provides access to all major features based on your user role.